This article will provide the basic steps to sew a collar liner into your tunic using the Obr. 35 as an example. The Obr. 35 is a bit more tricky to line up the collar liner perfectly as the collar isn’t standing and folds over more in the front than in the back. The Obr. 43 is much easier as it is a standing collar, having the same height the entire circumference of the collar. This guide assumes you have basic hand sewing skills, such as threading a needle, and doing basic hand stitches, so that will not be covered in this guide.
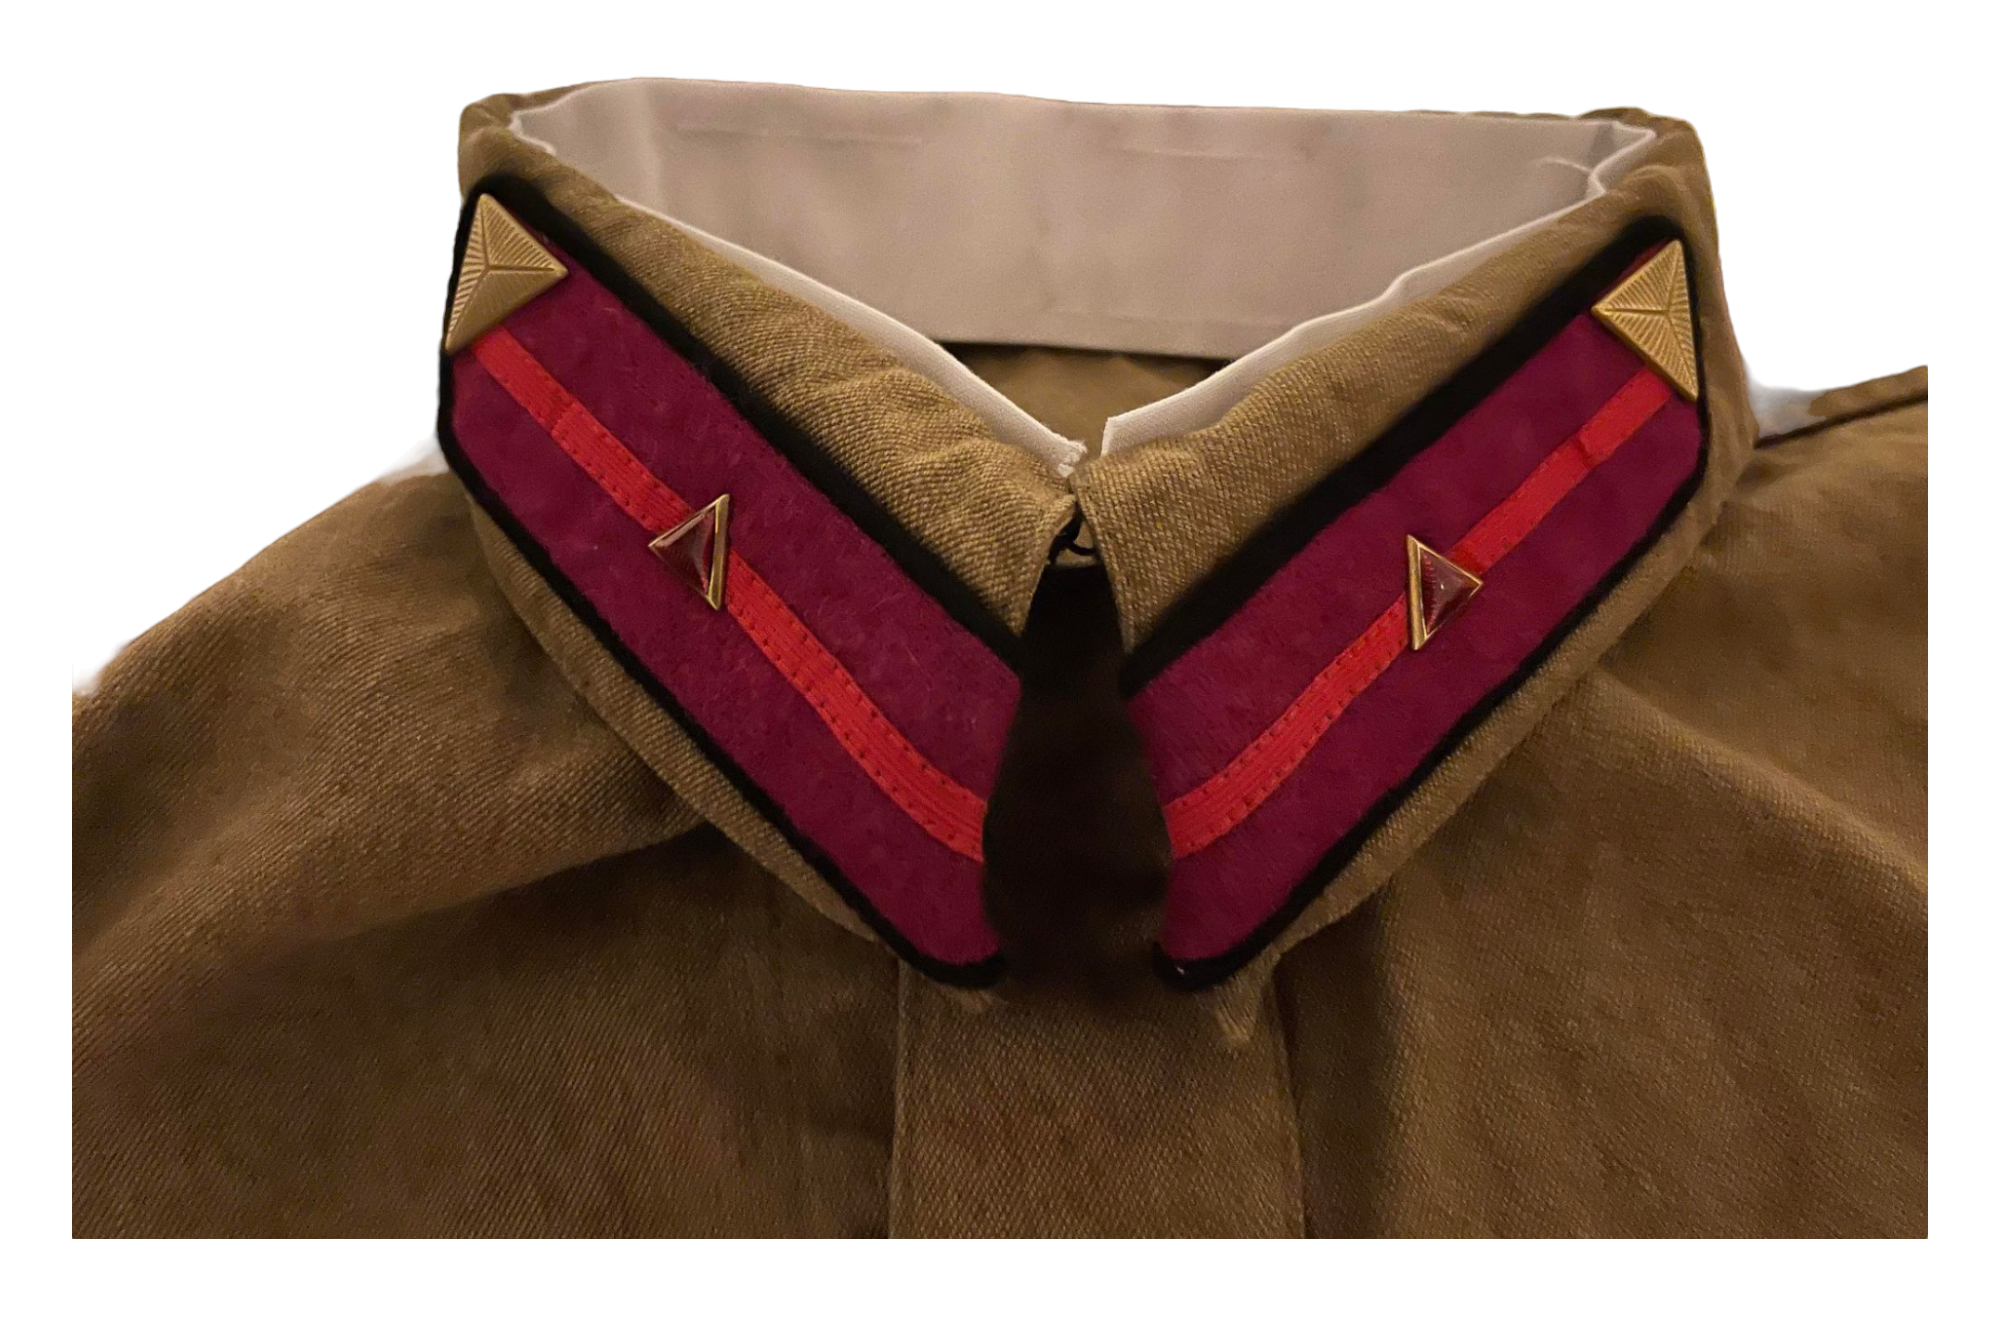
Obr. 35 Tunic Example
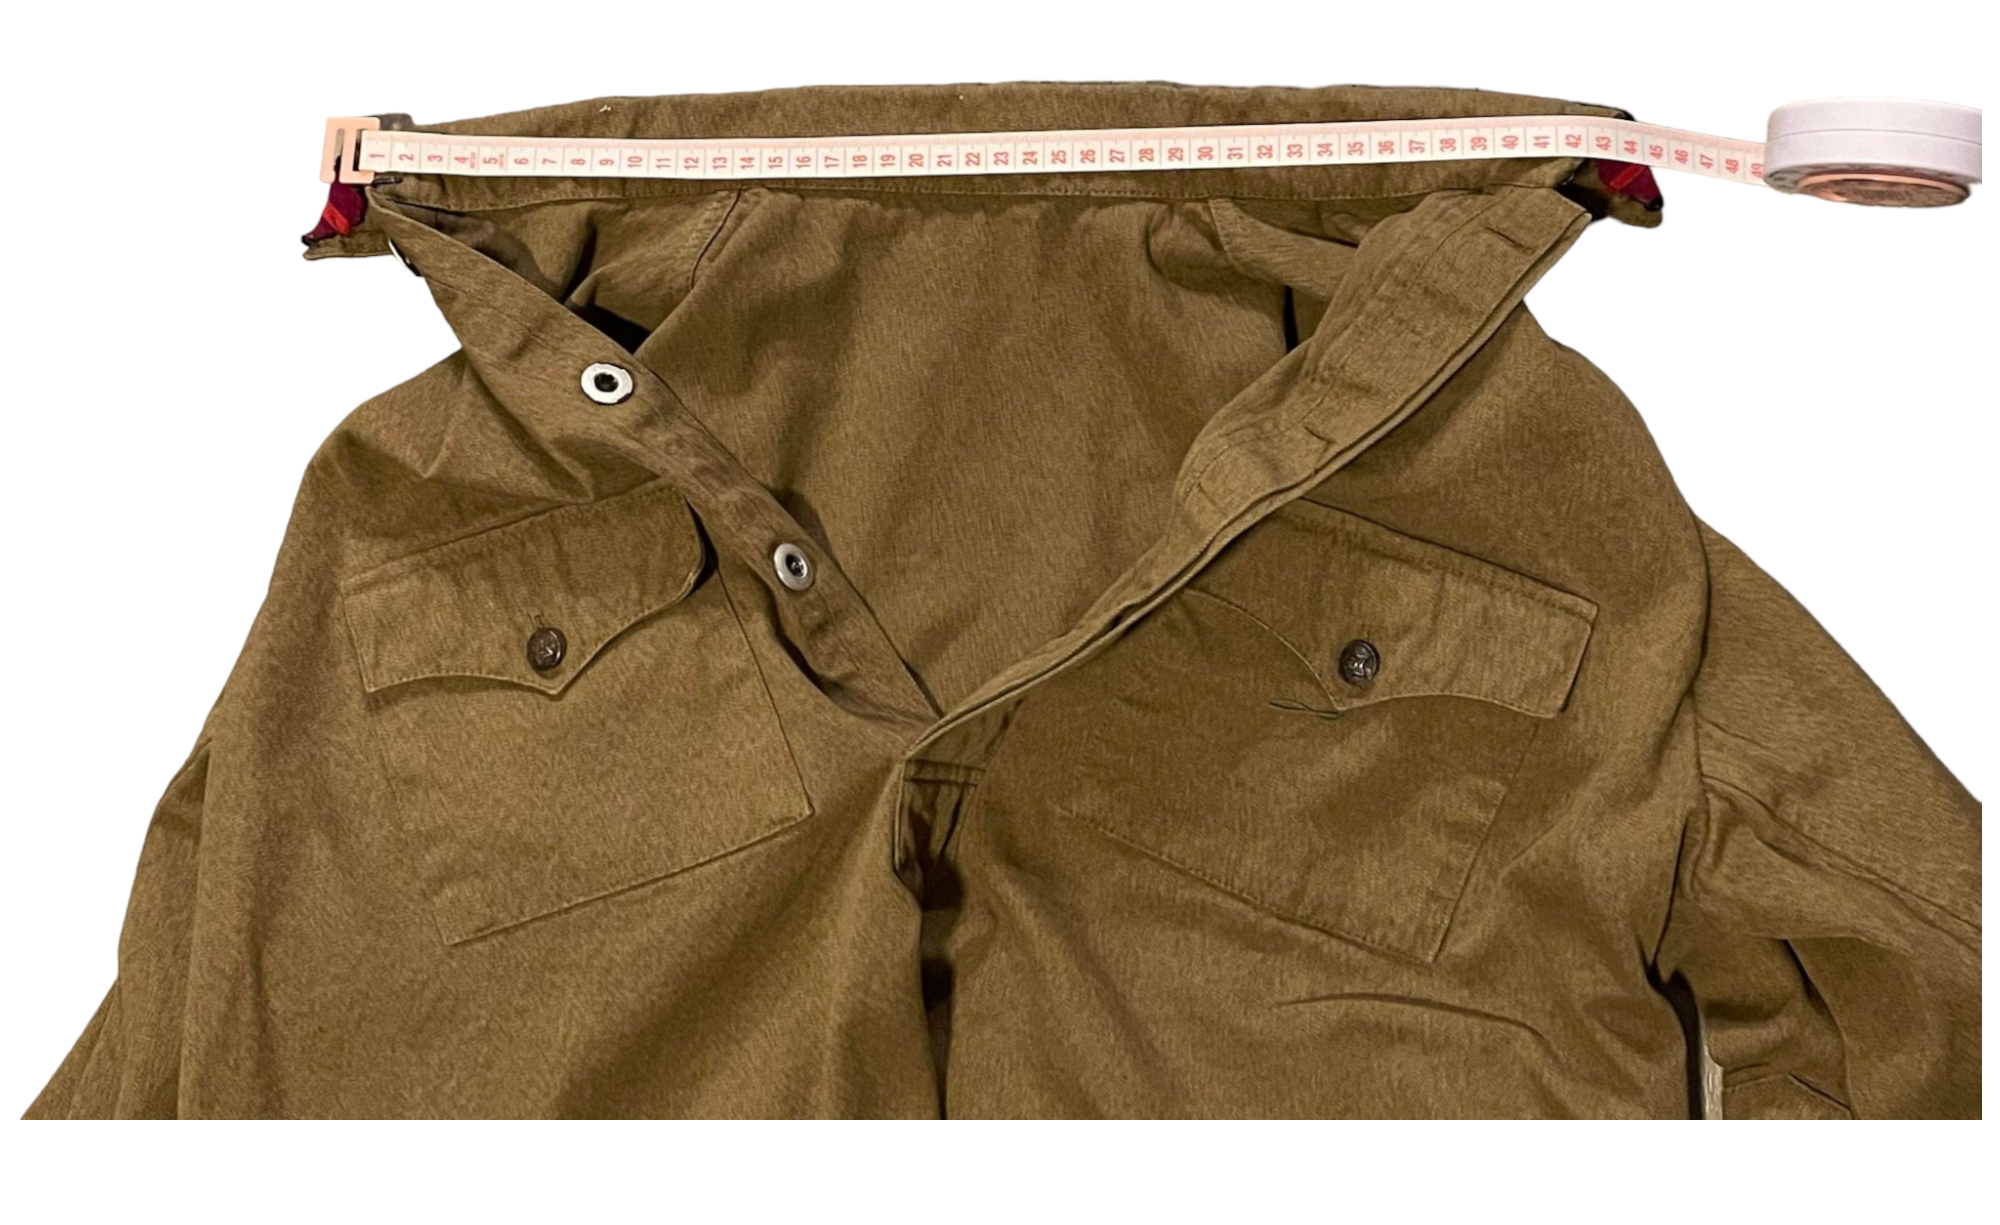
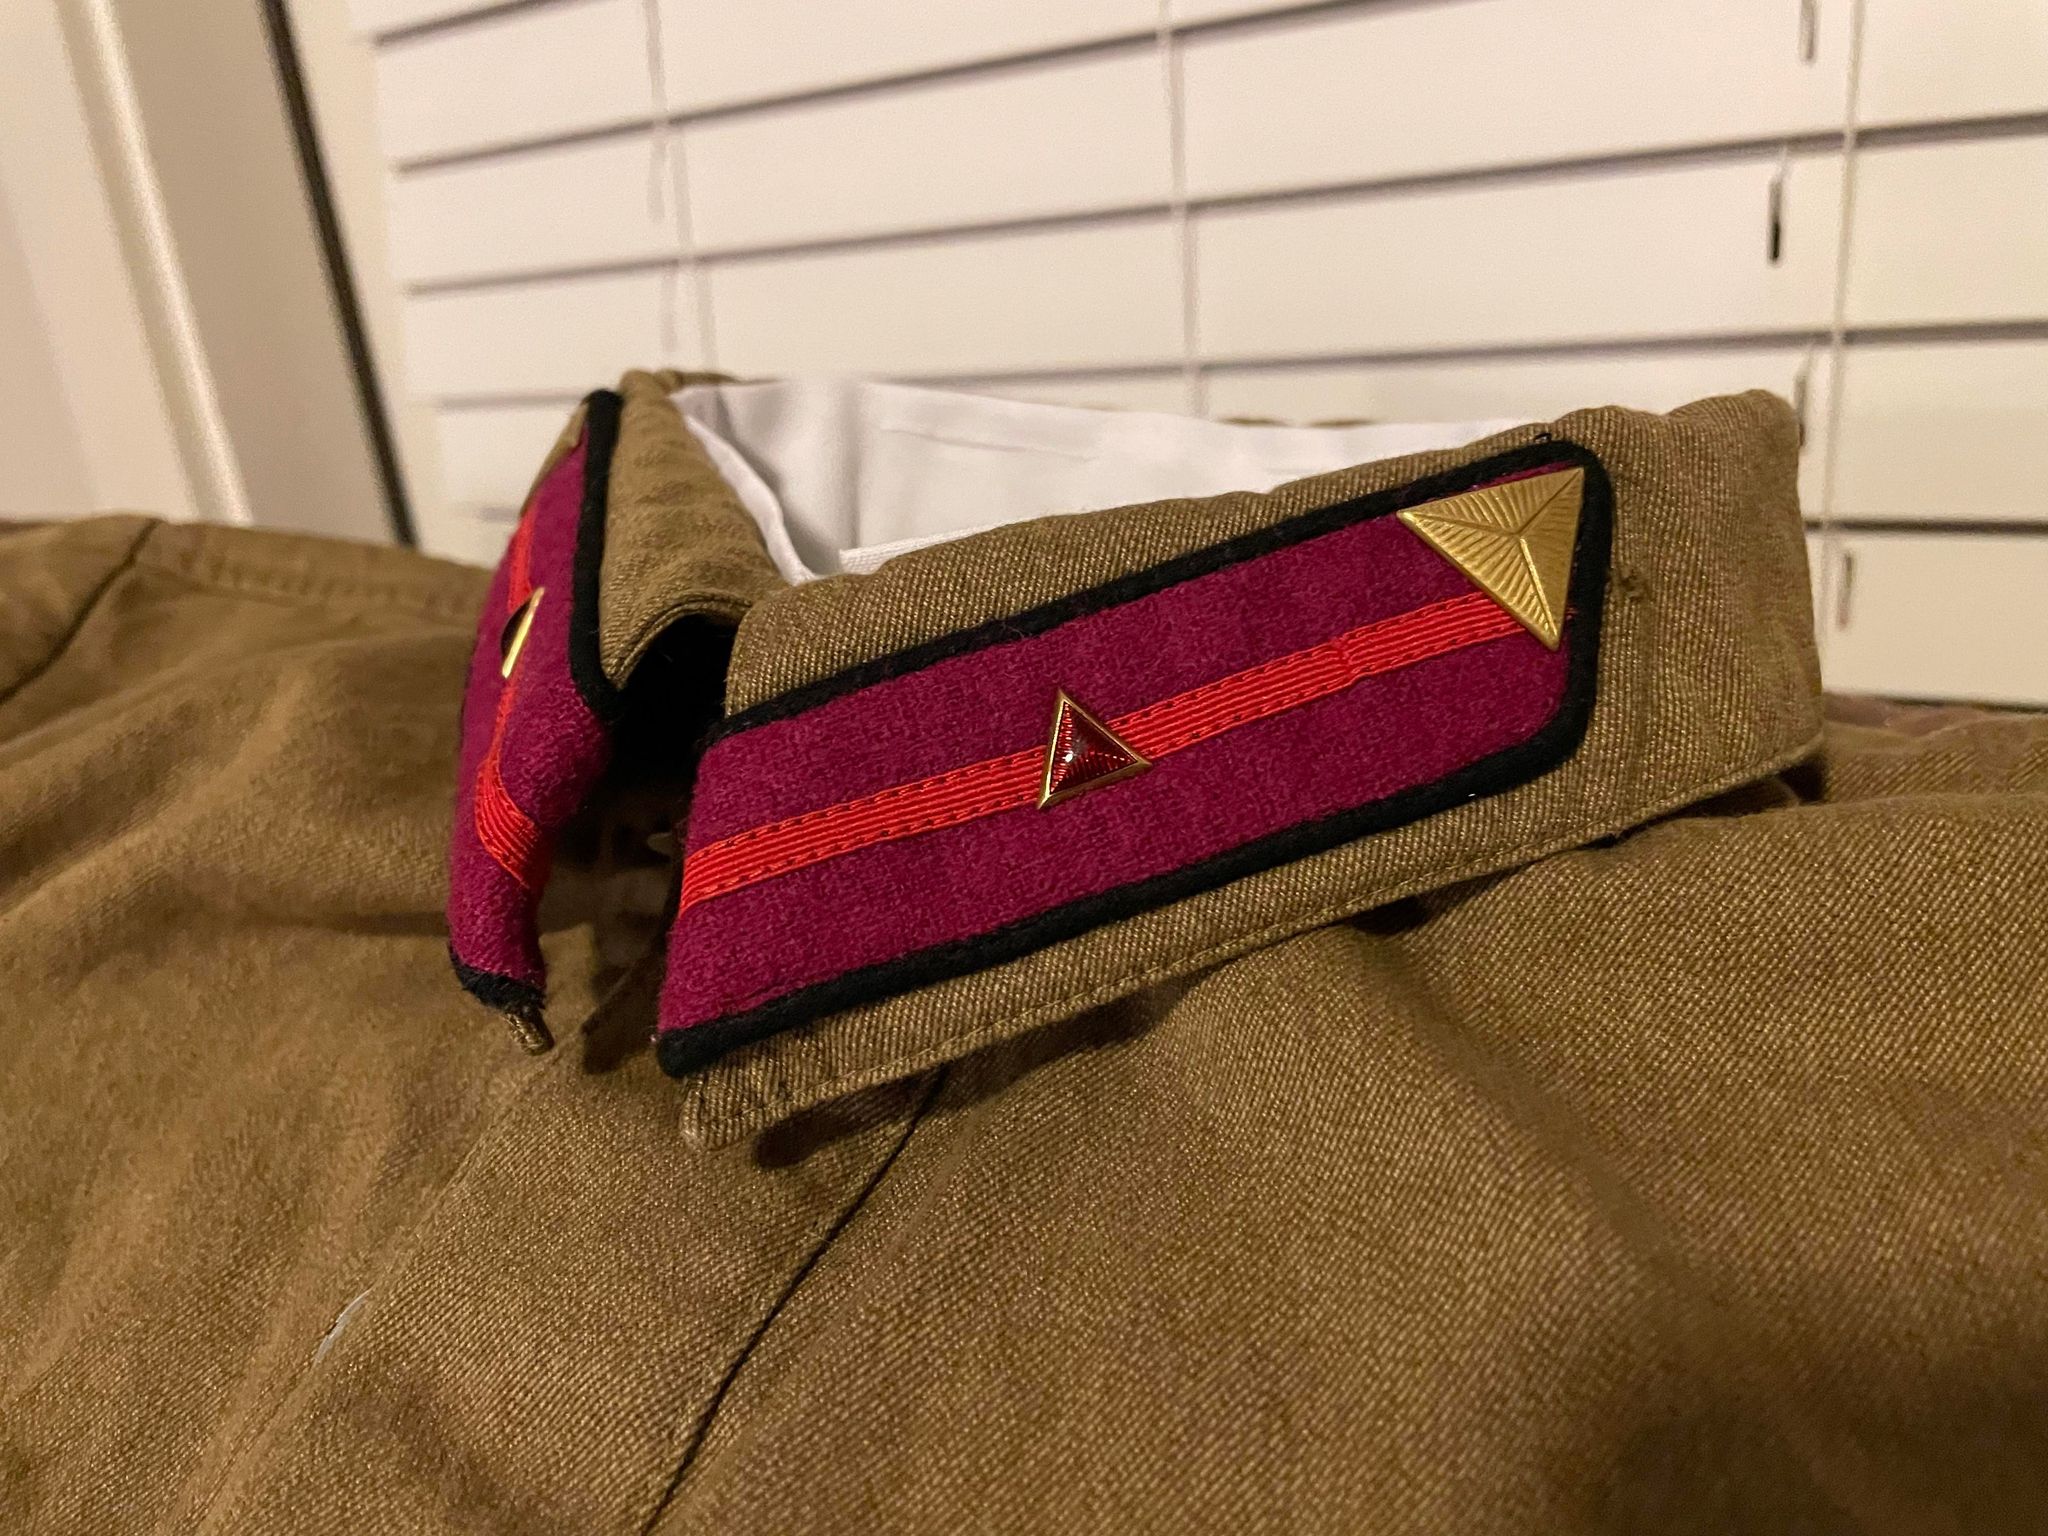
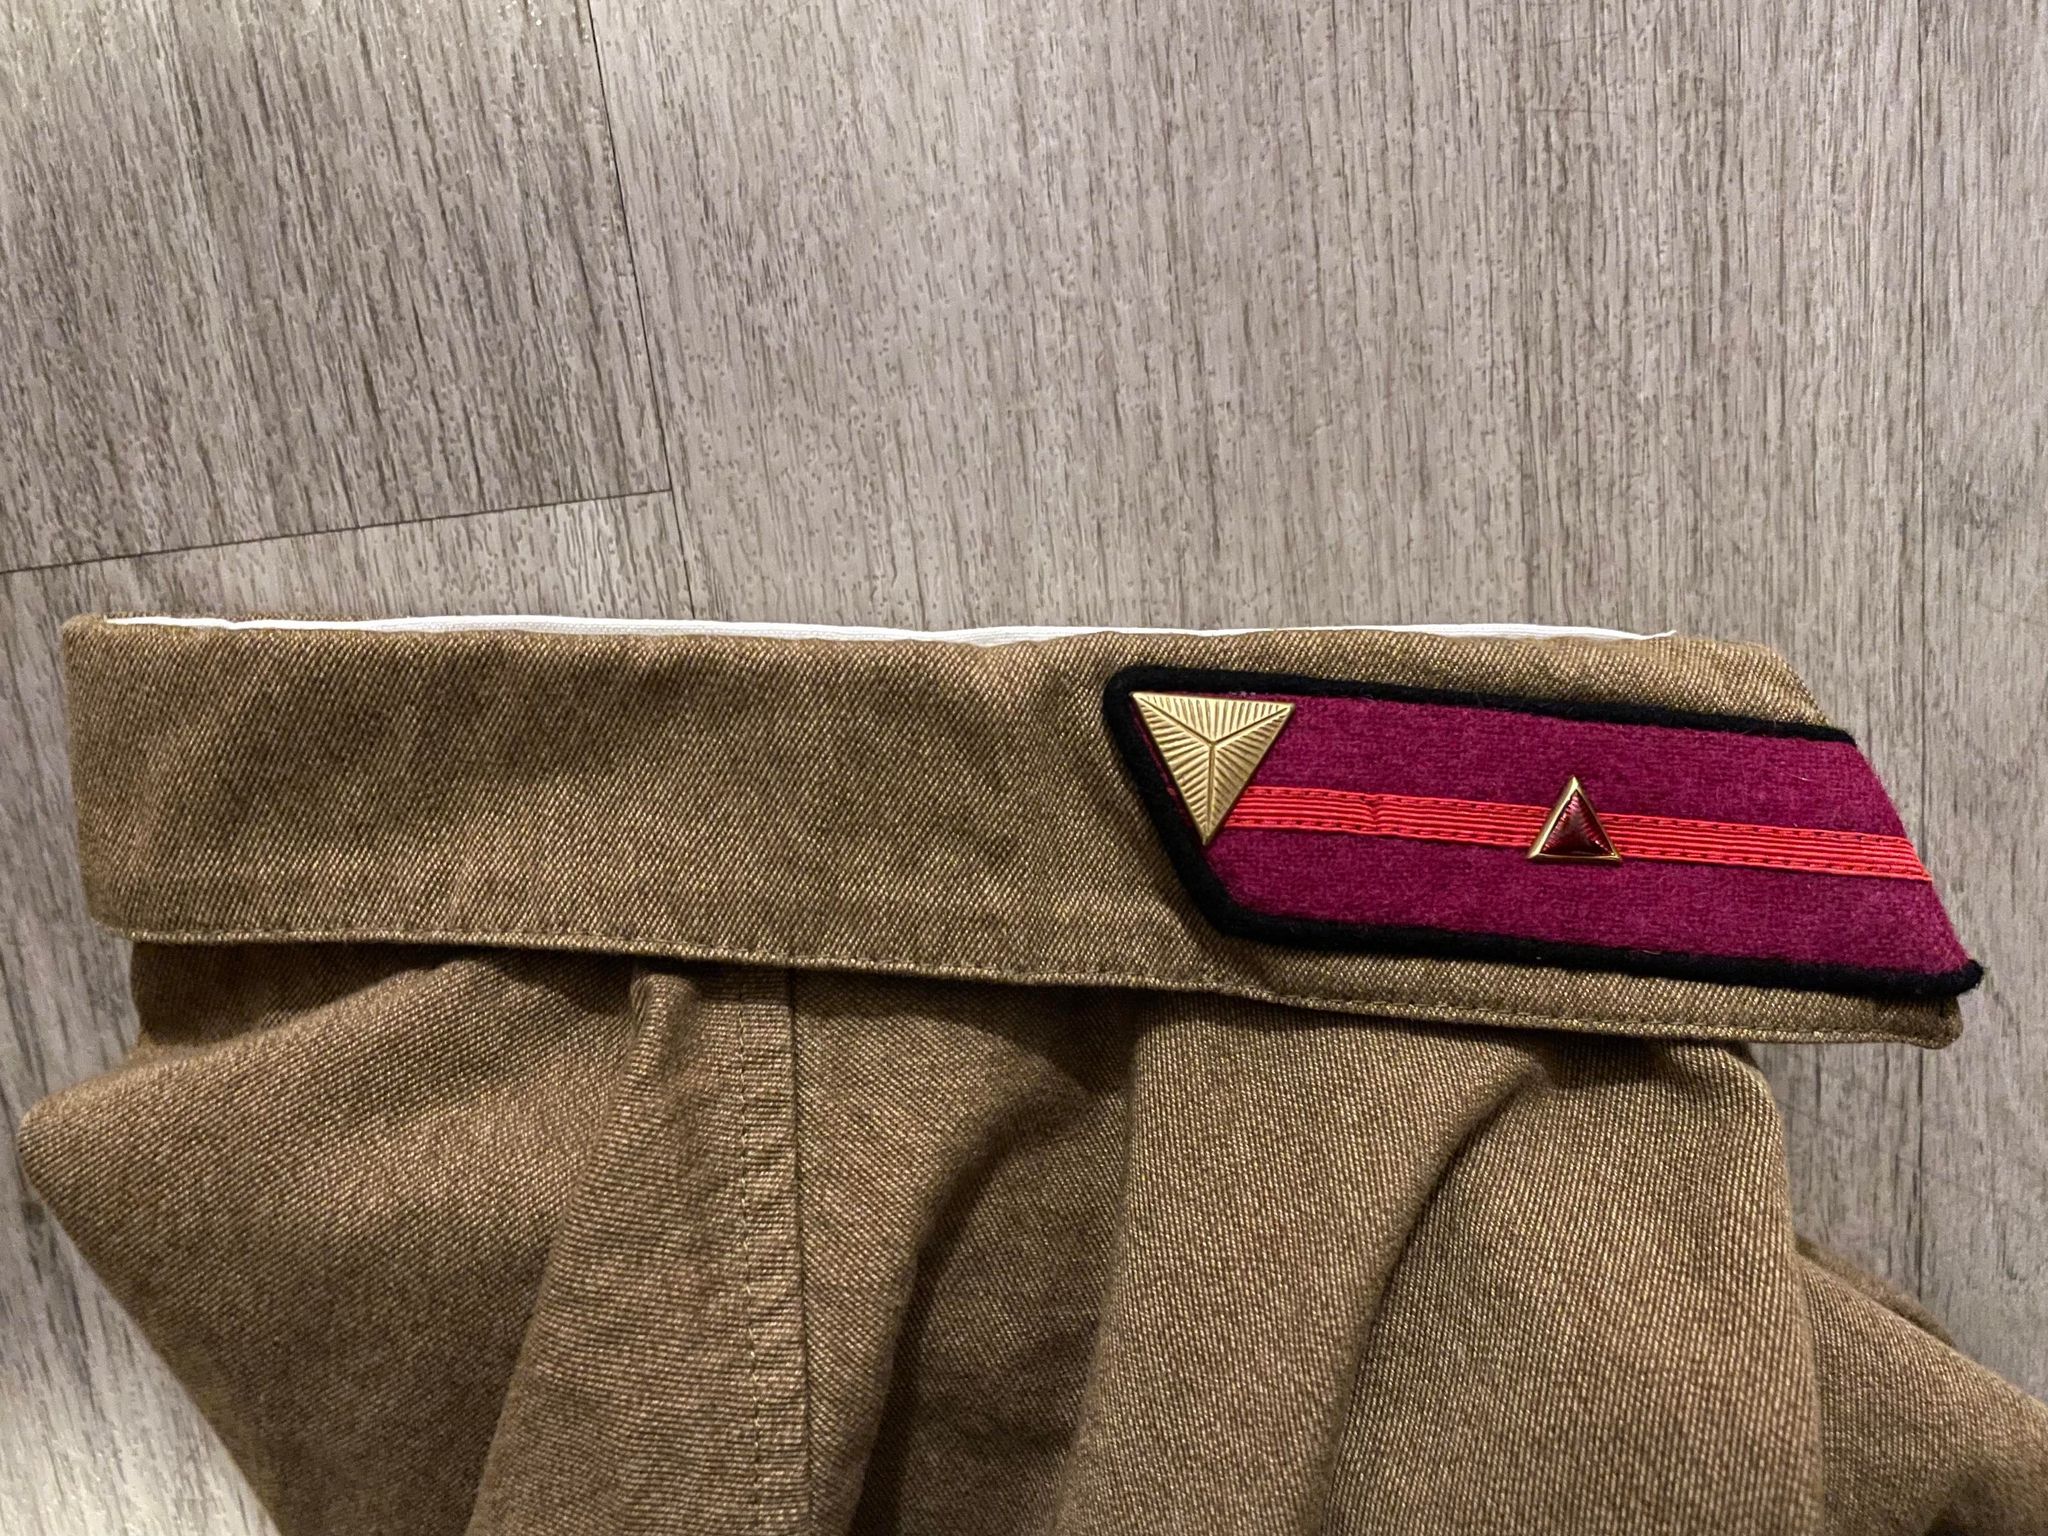
1. Begin by unbuttoning the tunic and getting the measurement of the collar length wise from end to end. In the example to the right, the collar is about 42 cm long.
Measure the collar from end to end
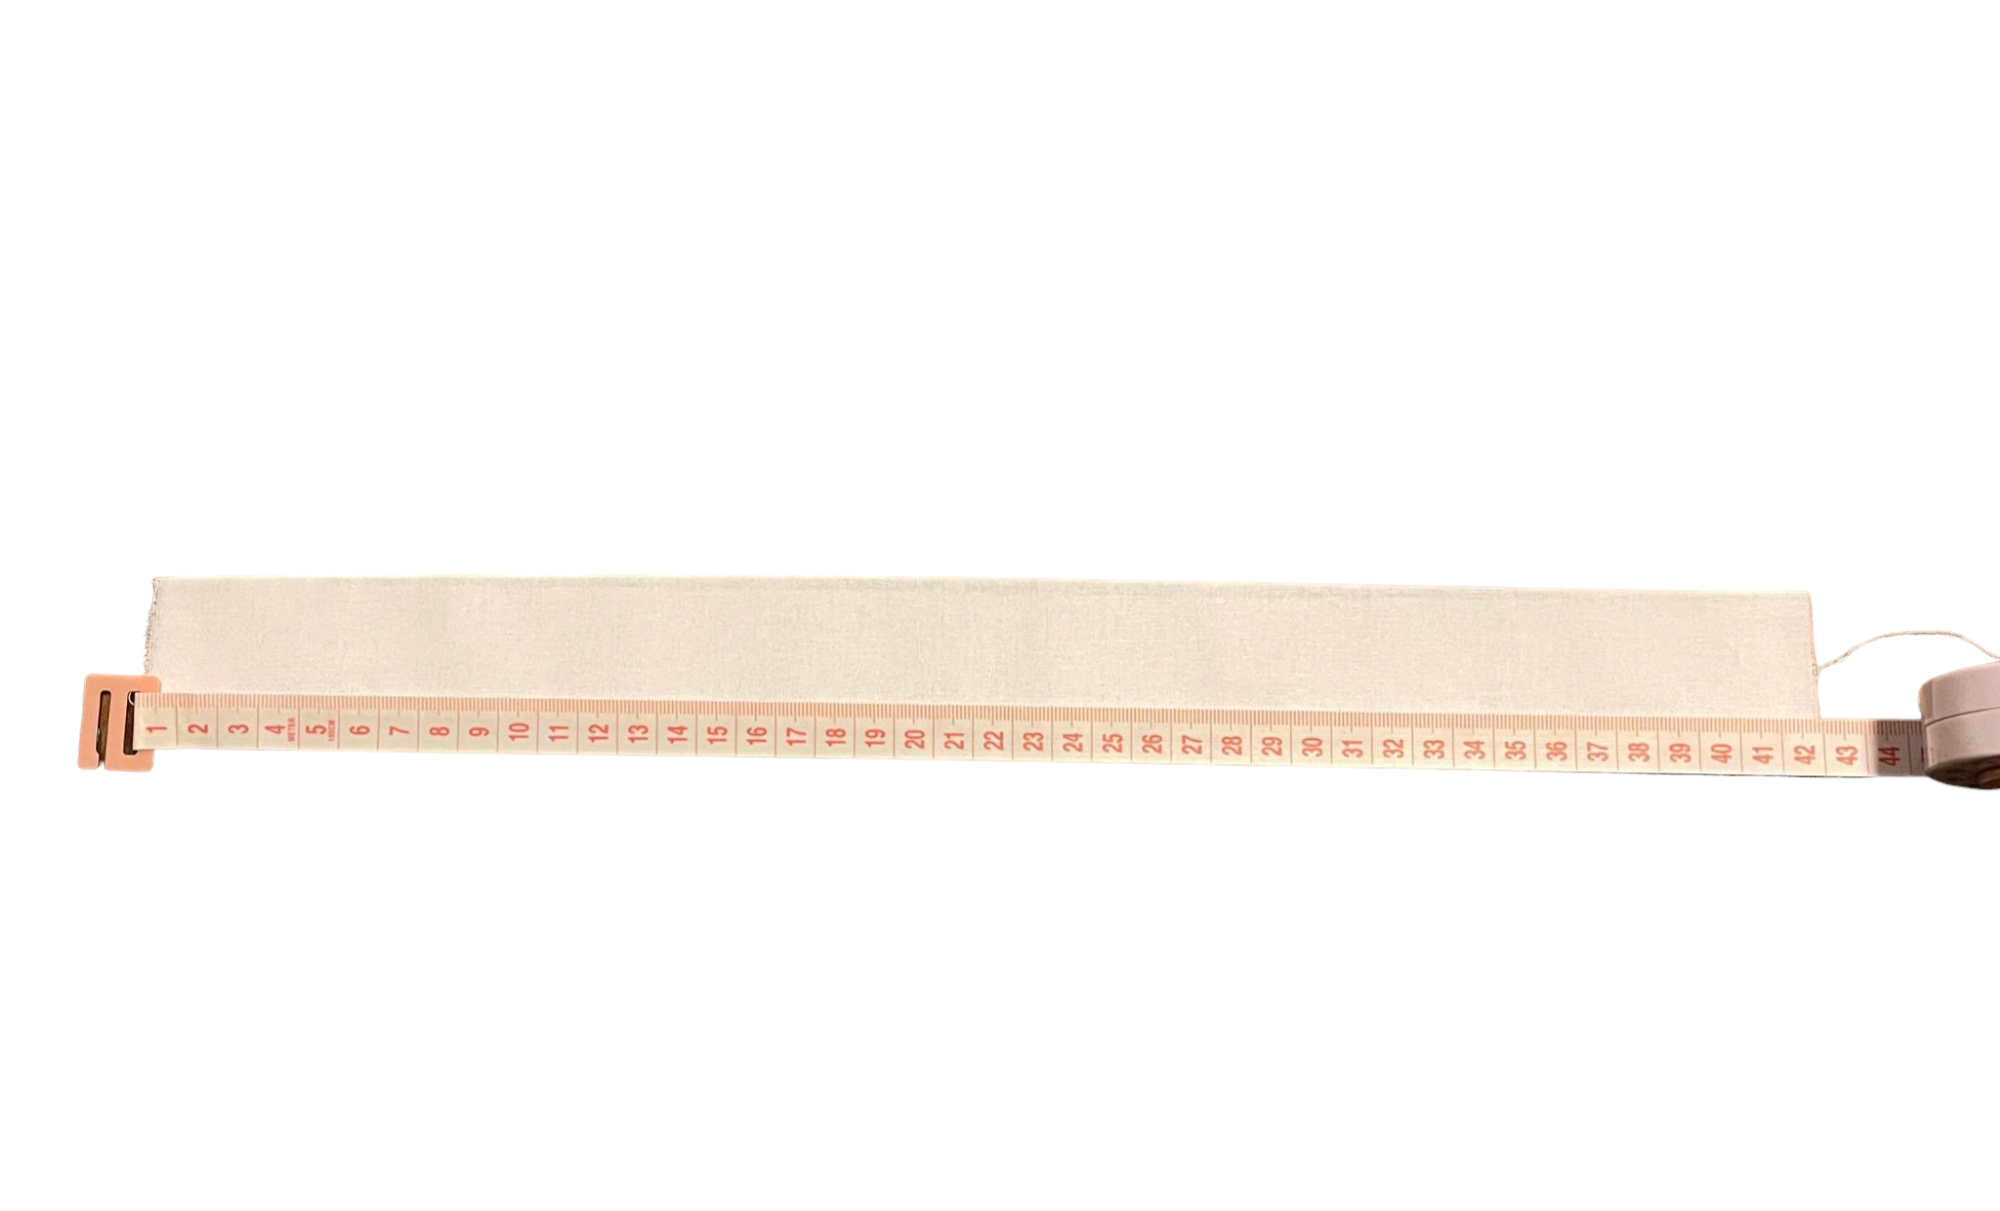
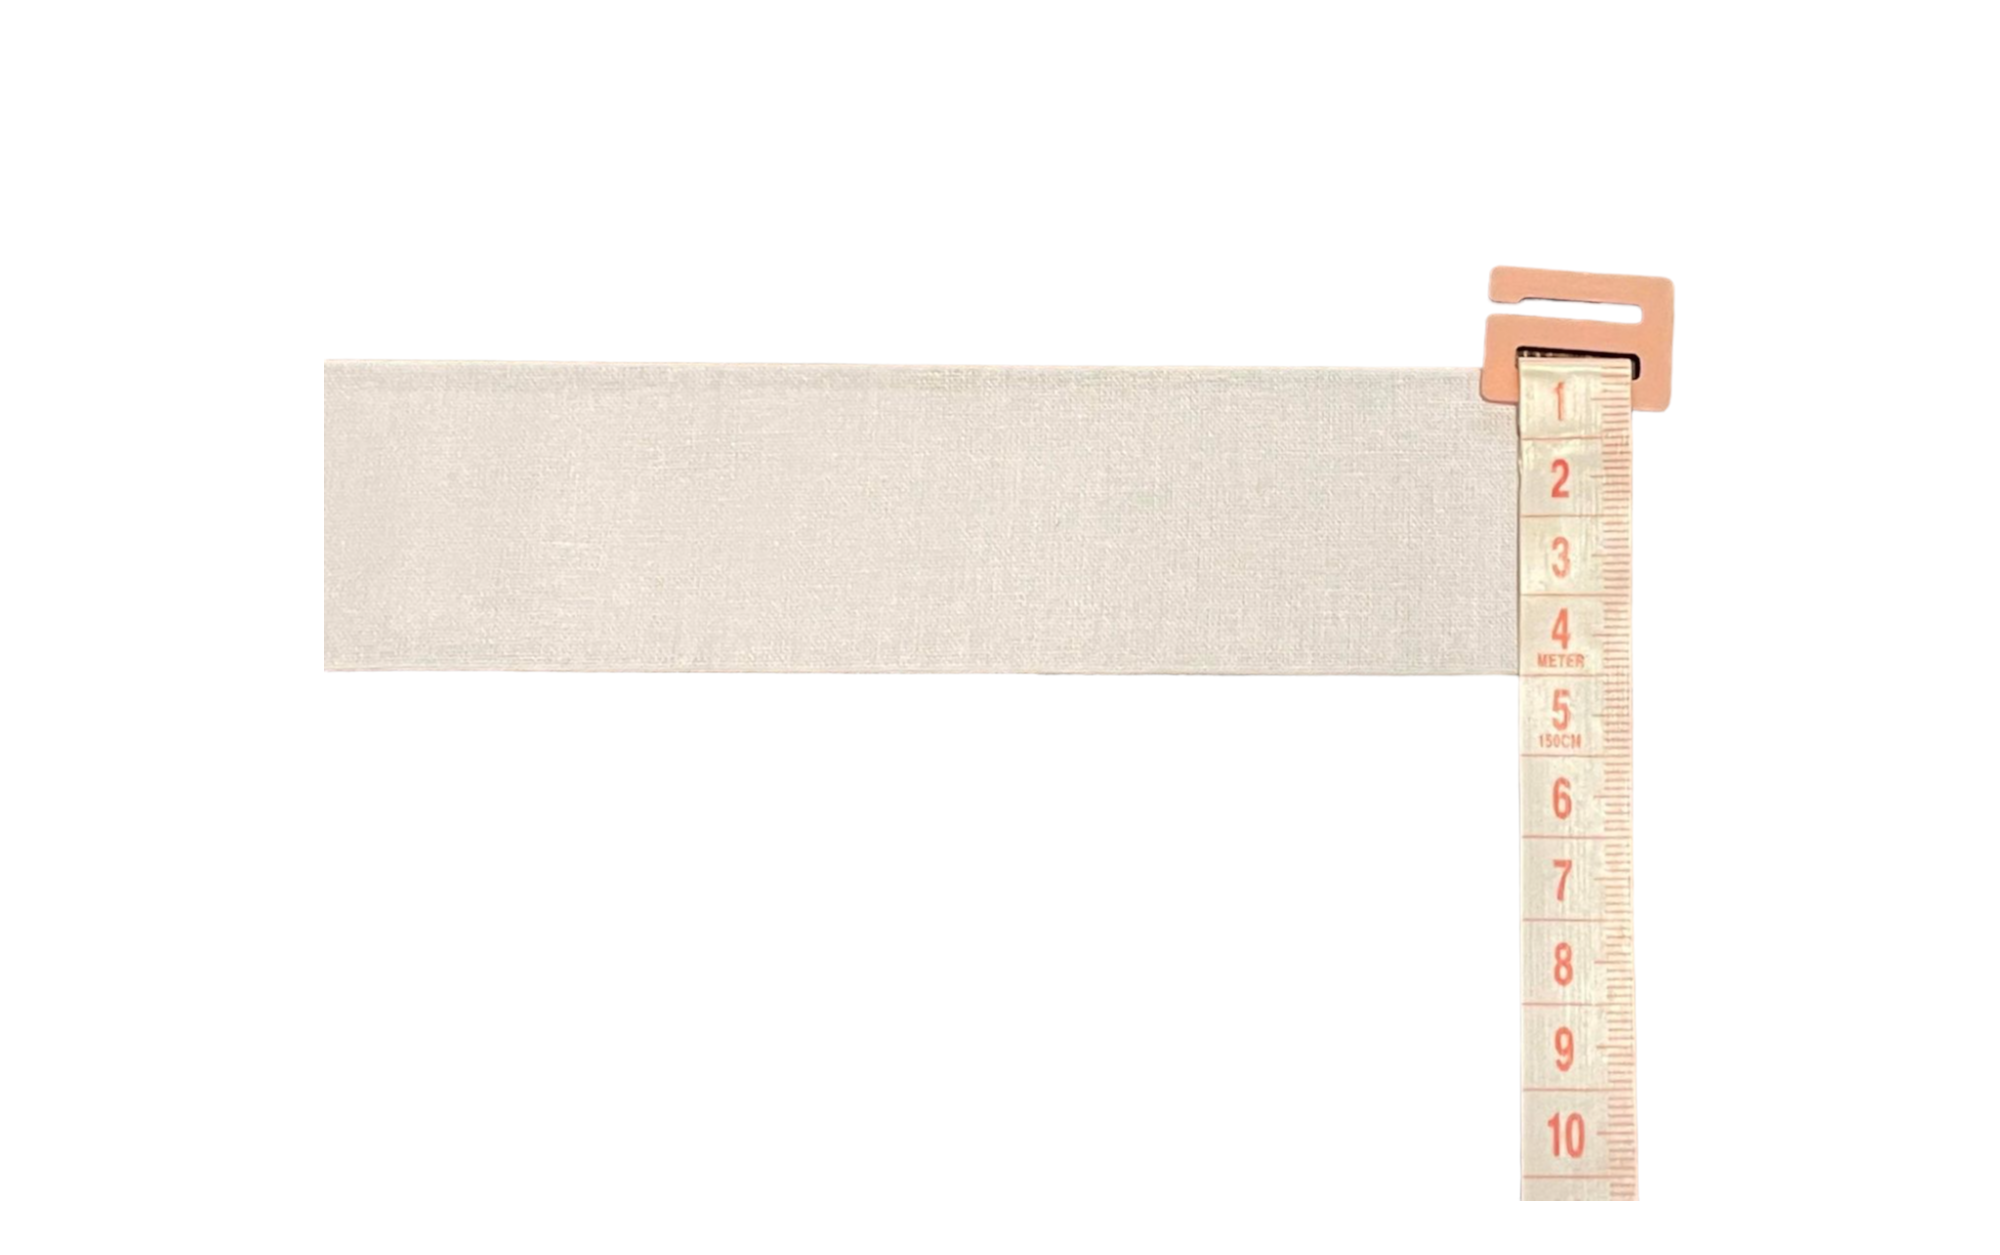
2. To make the collar liner itself, use any piece of 100% cotton and cut it to the specific measurements of your collar. Make sure it is around 4cm in height. You will want to fold the collar liner over once or twice. In the example below the liner has been folded twice. The piece of cotton cut for this liner was 12 cm tall and 42 cm long. You can buy quarters of cotton from a local fabric store or even Wal-Mart.
Collar Liner Length
Collar Liner Width
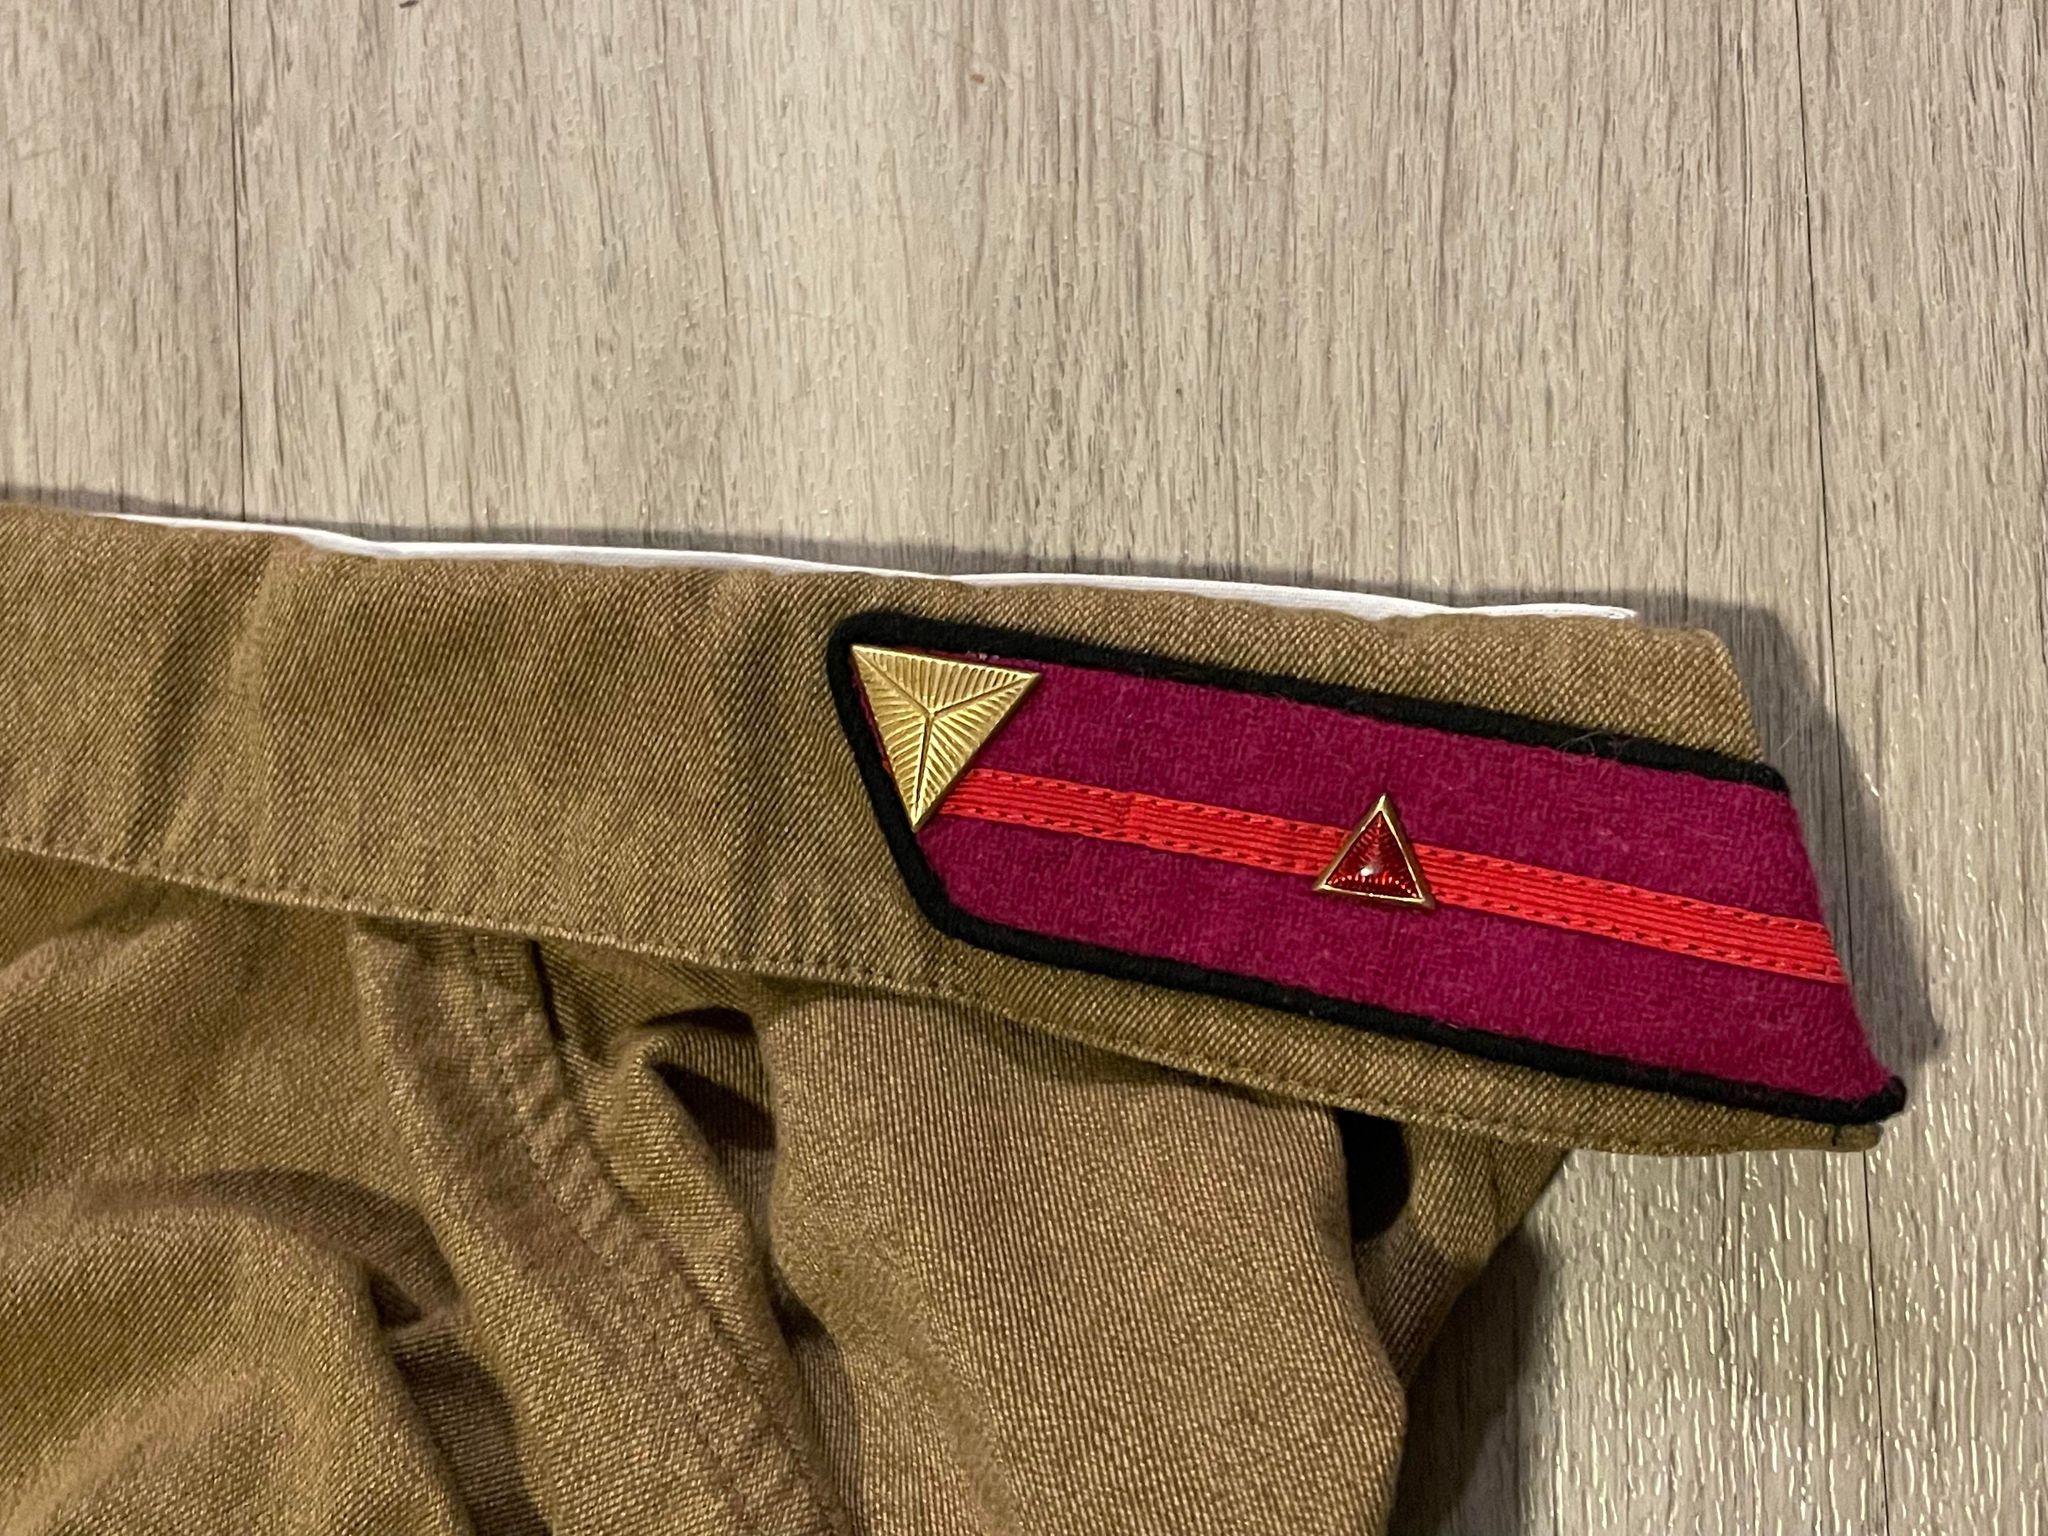
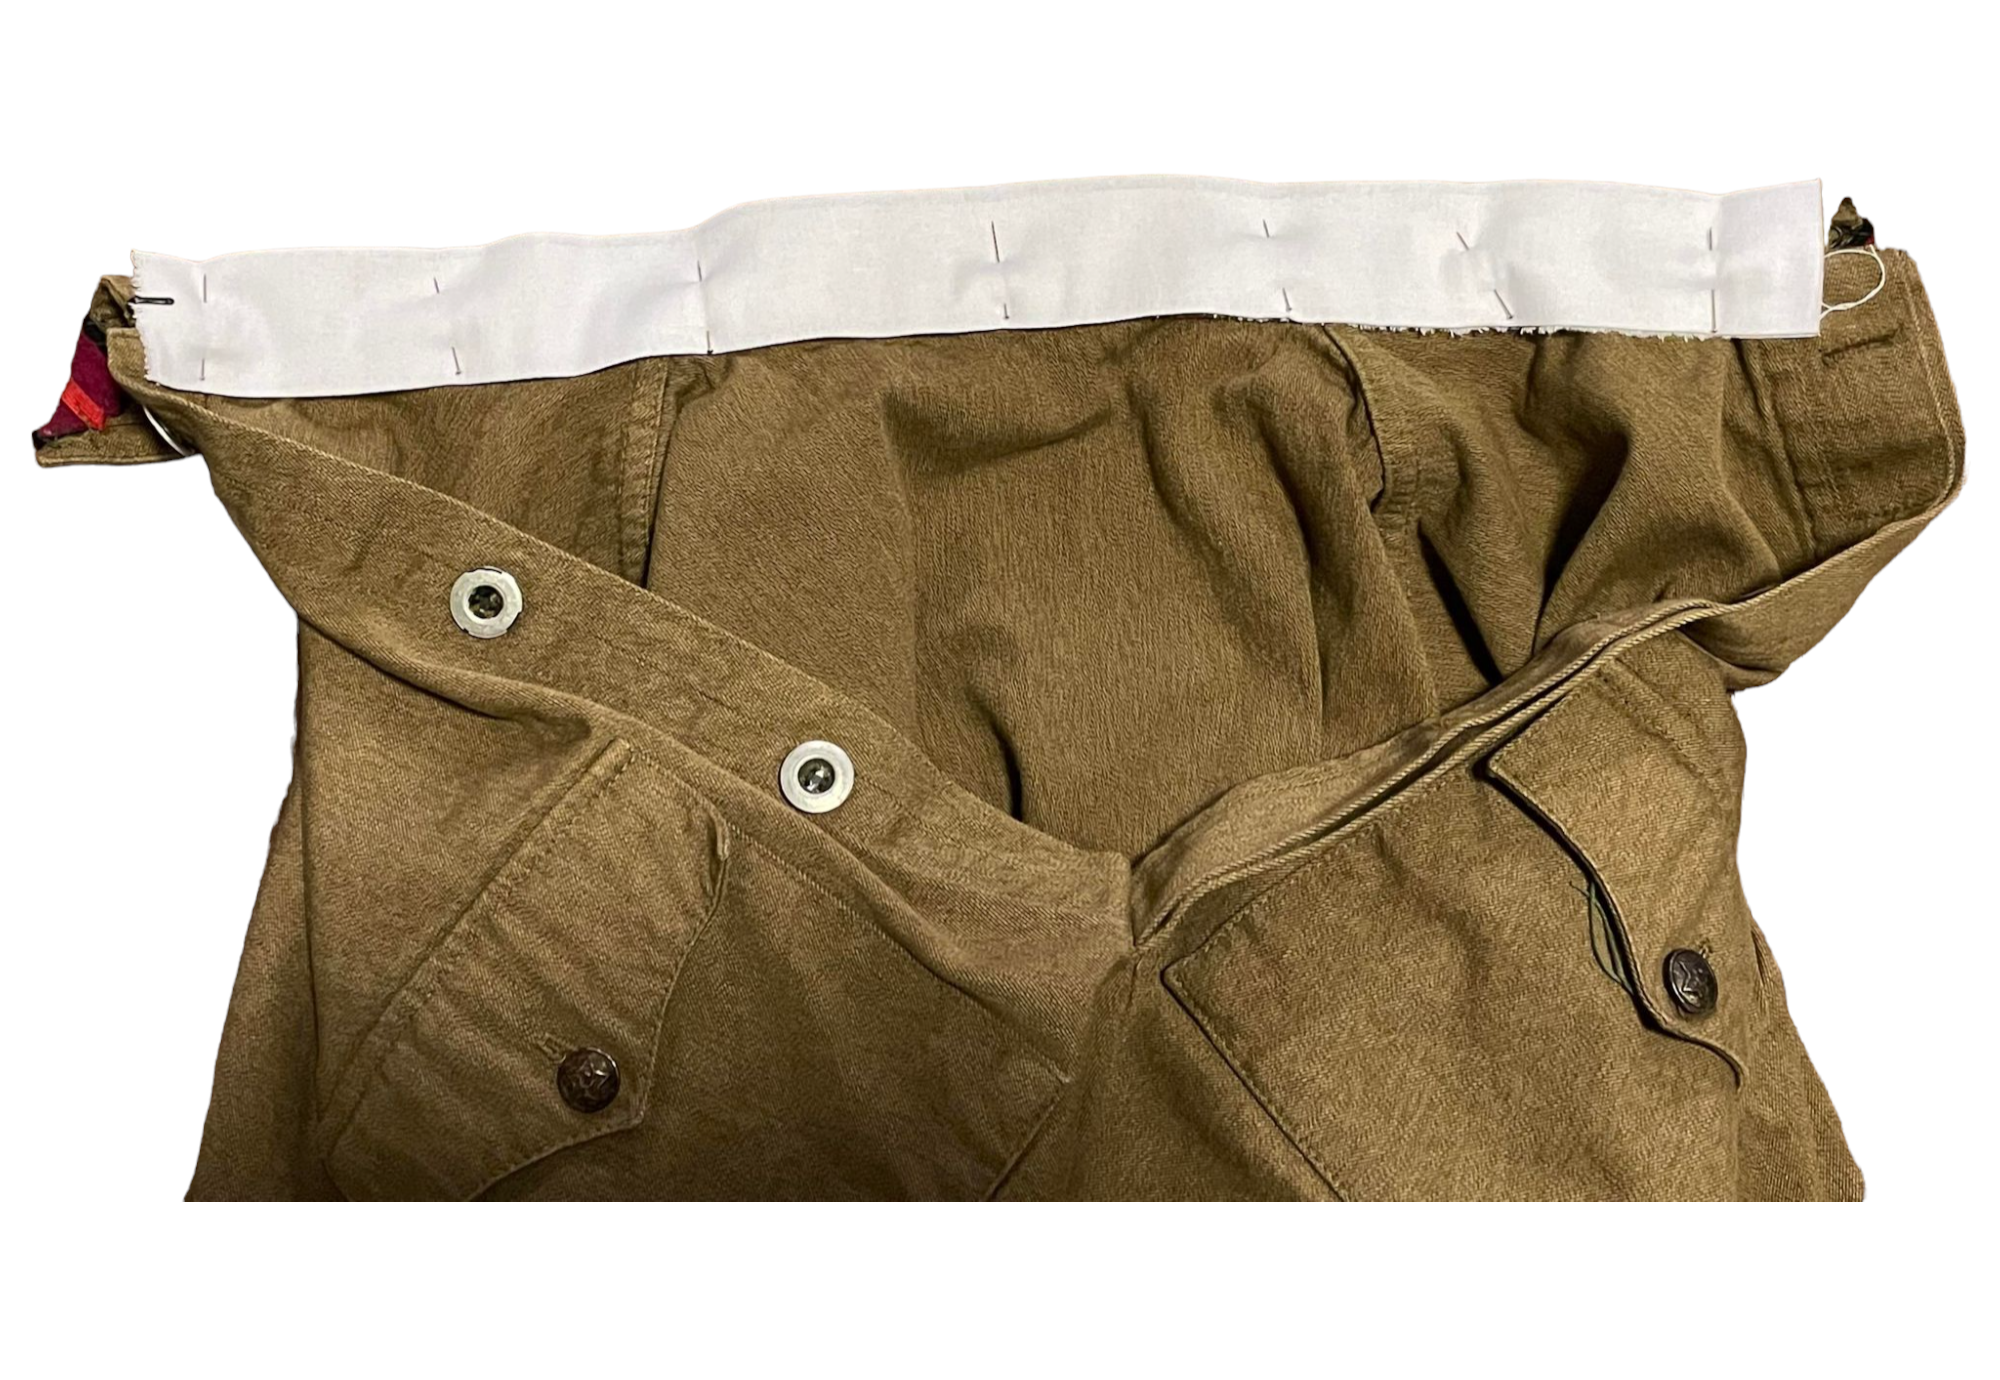
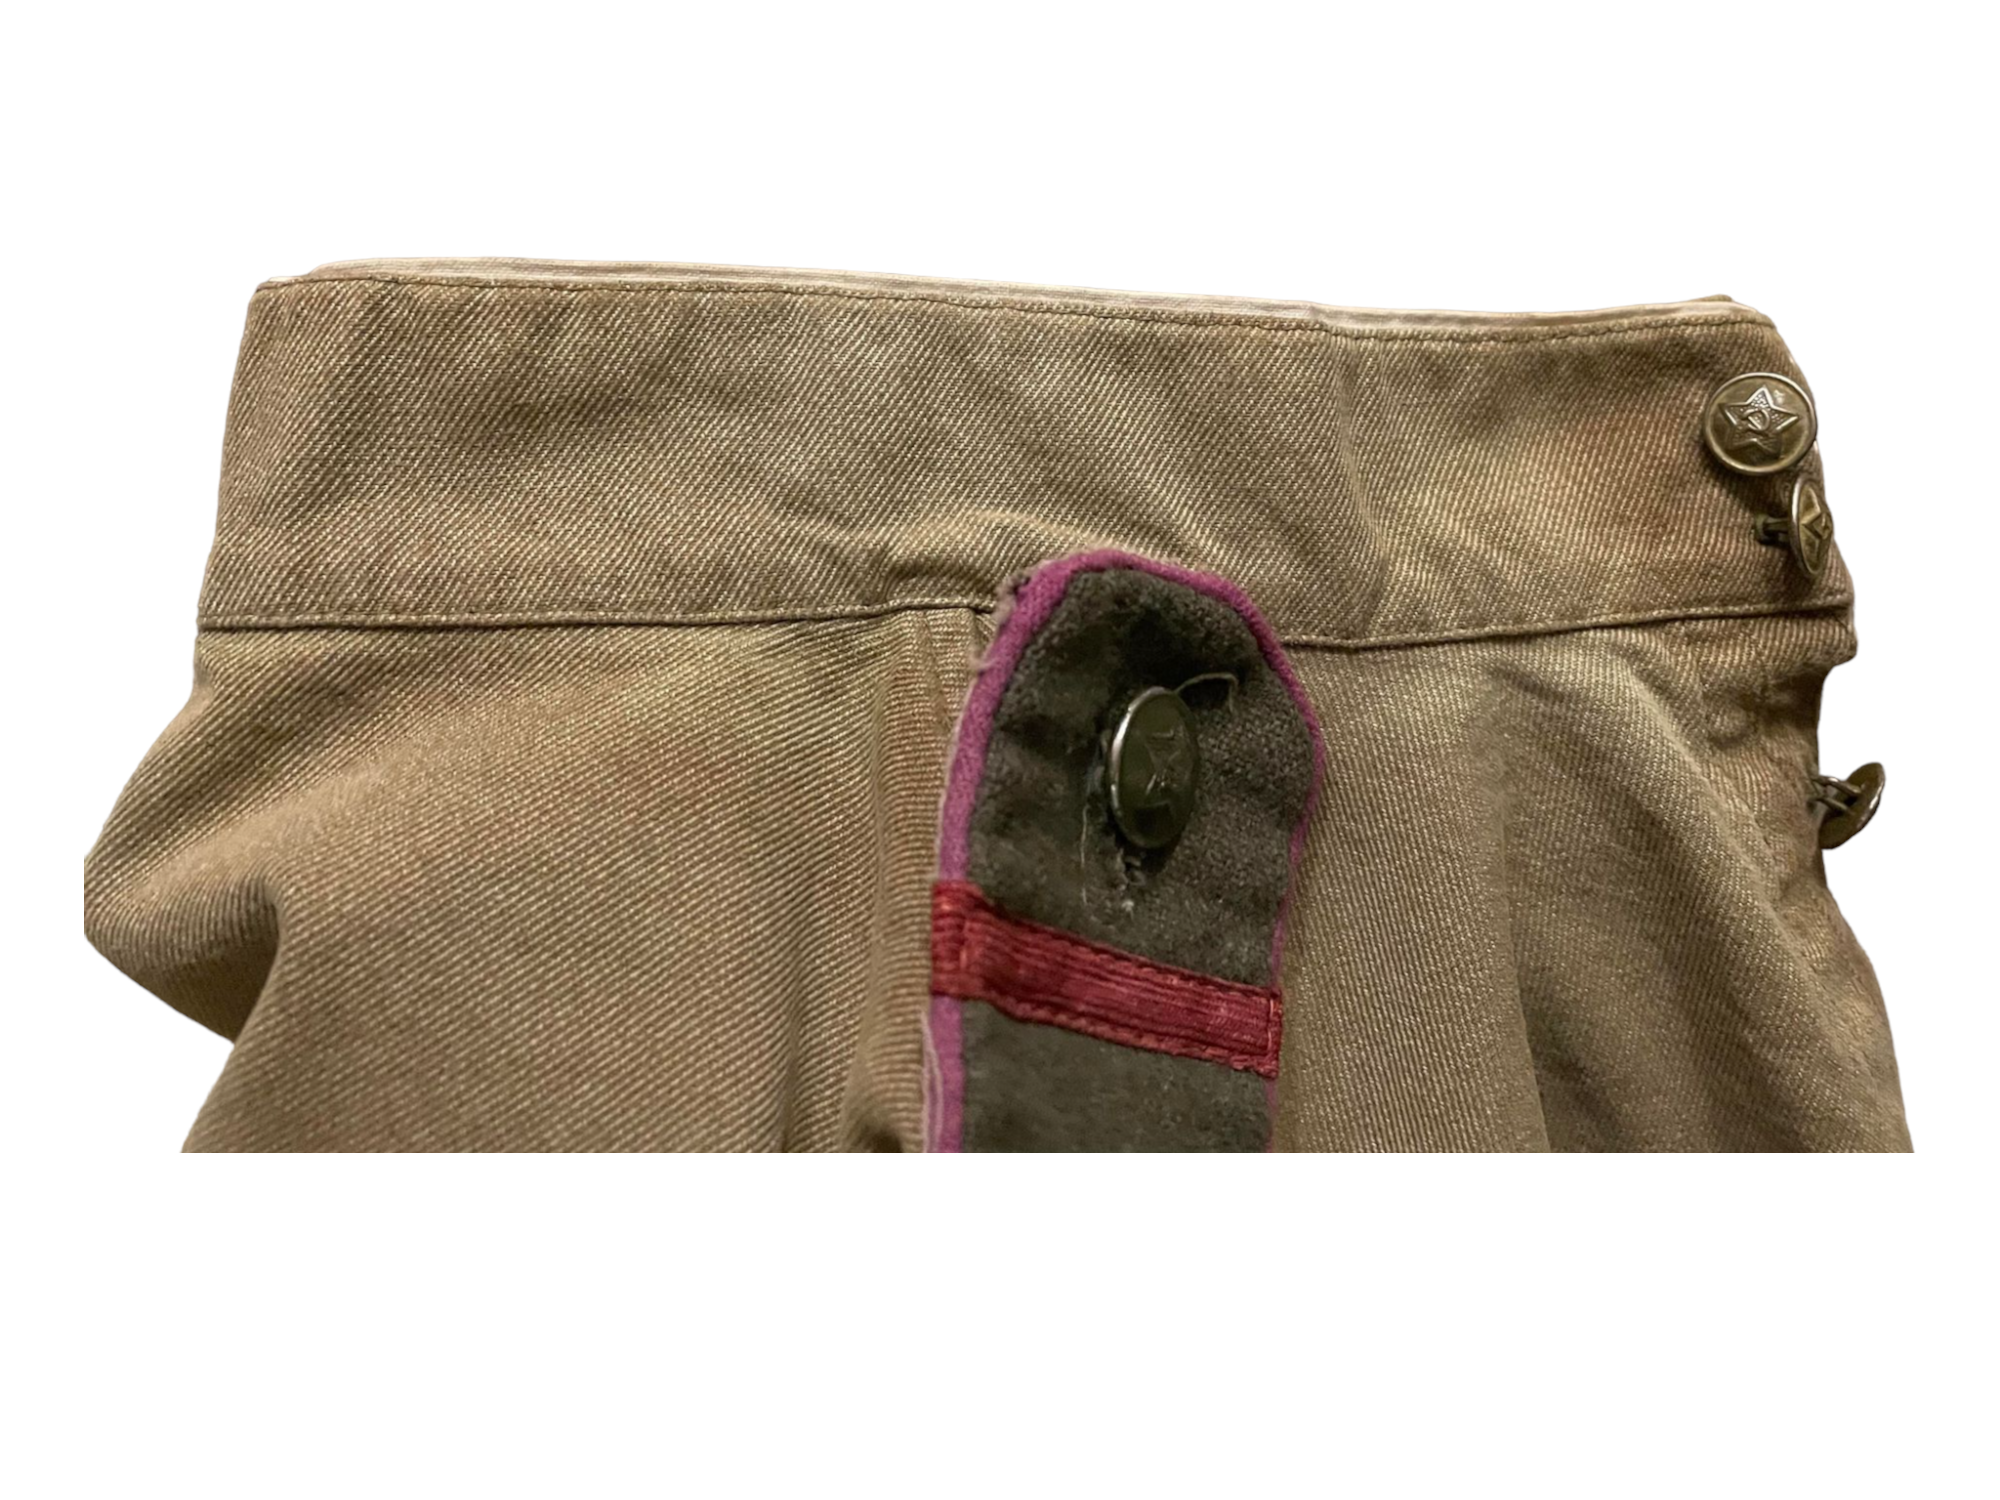
3. Lay the liner into the collar so that a small portion of the collar sits above the collar, about a match sticks width. Once lined up properly, use pins to hold the liner in place as you begin to sew it into the tunic. Do not forget to lay the liner under the collar hook to be able to clasp it shut when you wear it.
Matchstick width
Hold the liner in with pins
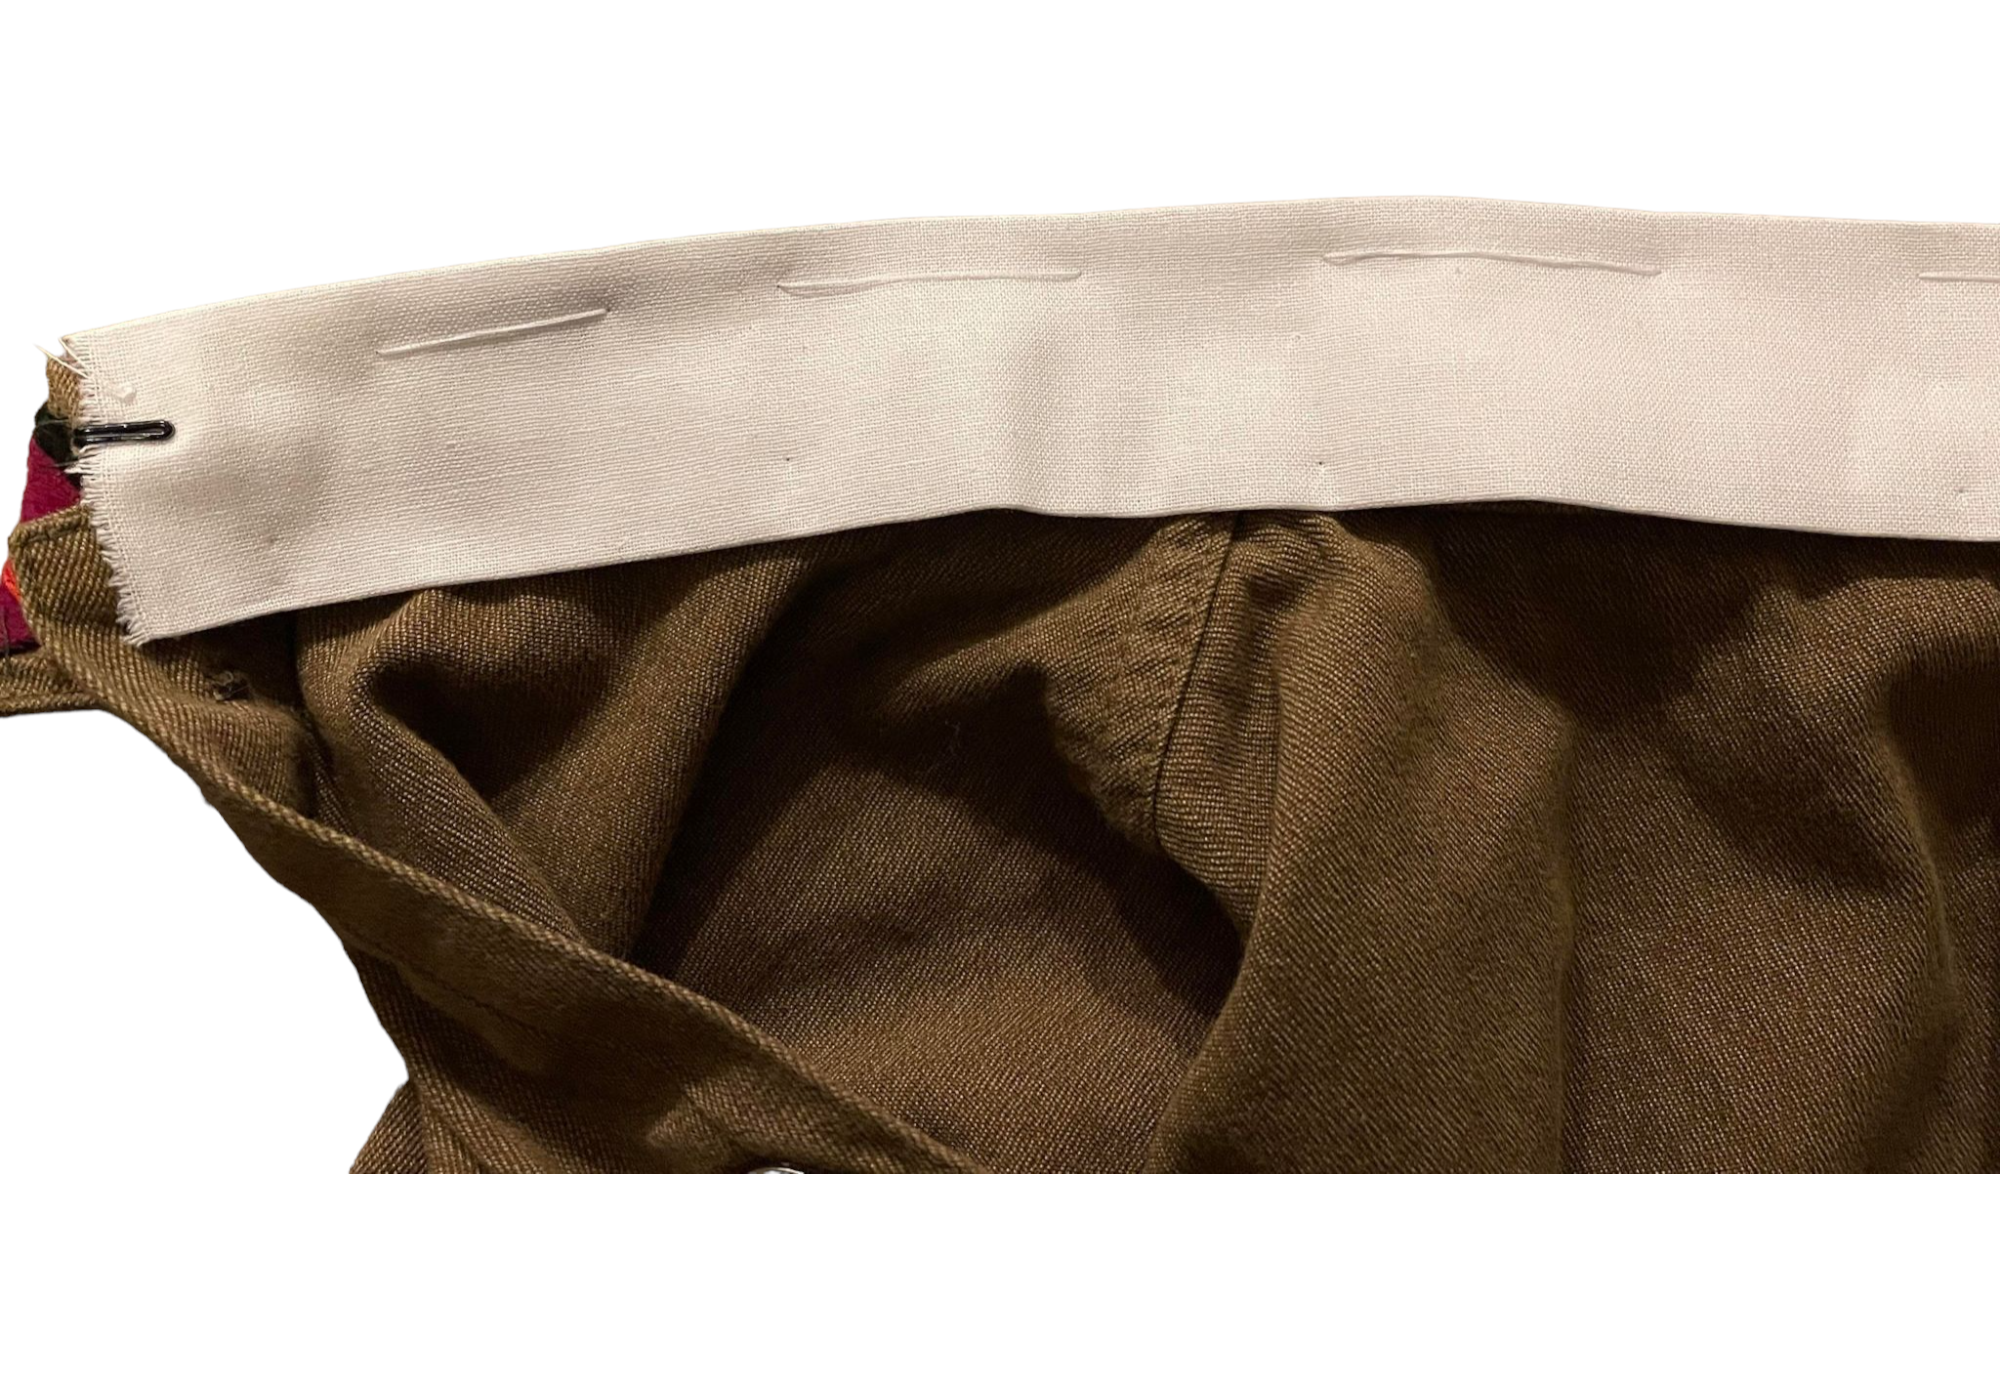
4. Start sewing from the top left corner of the collar from the inside. With the Obr. 35, it is perfectly acceptable to go all the way through the collar since when it is folded over you won’t be able to see the stitching.
Top Stitches
Stiches through the collar
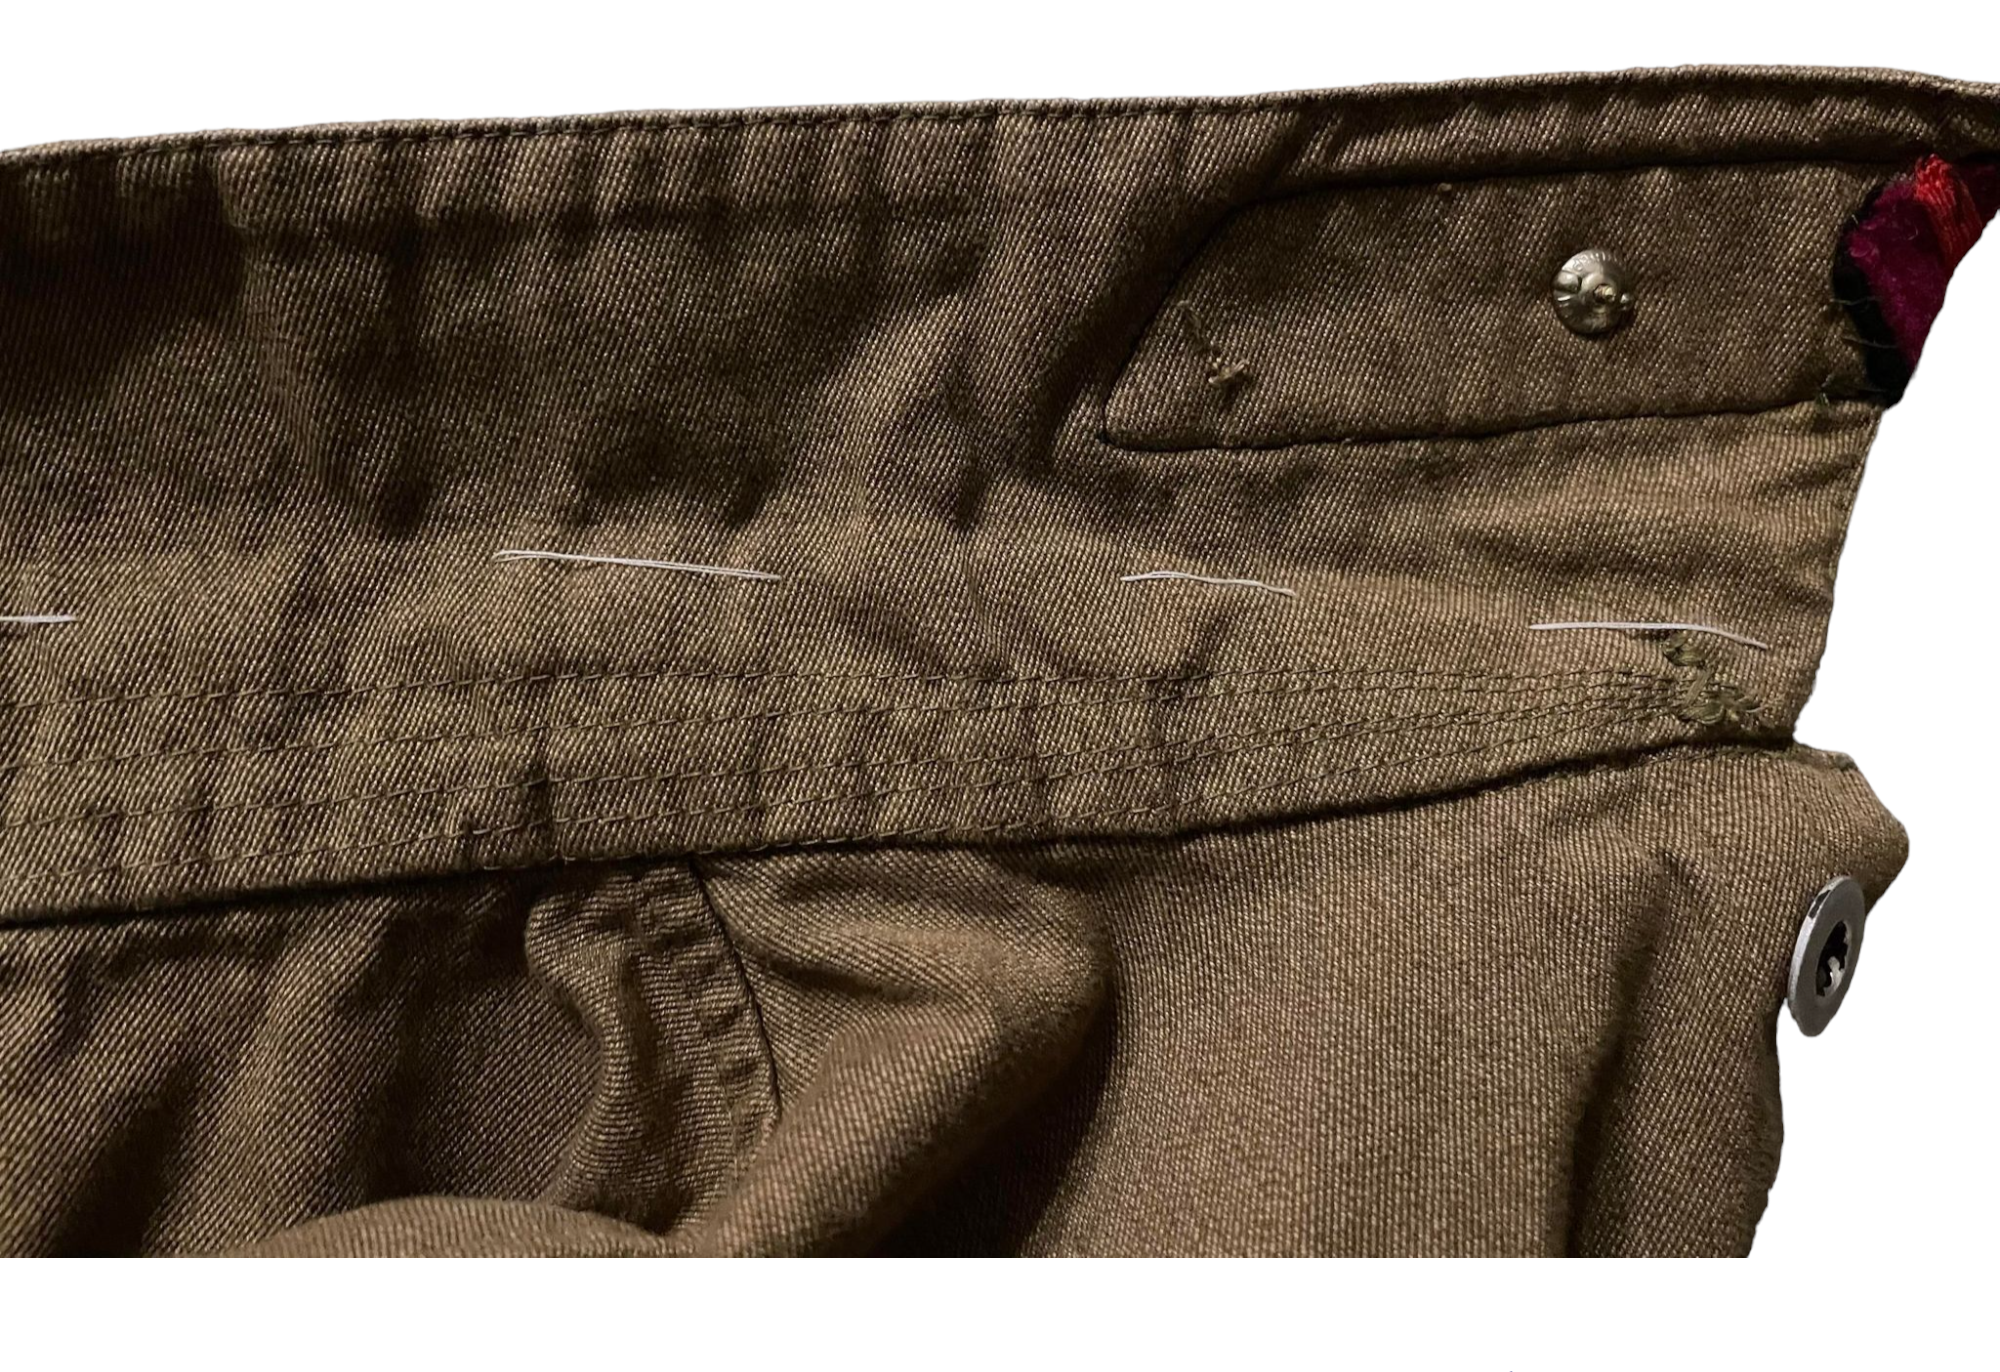
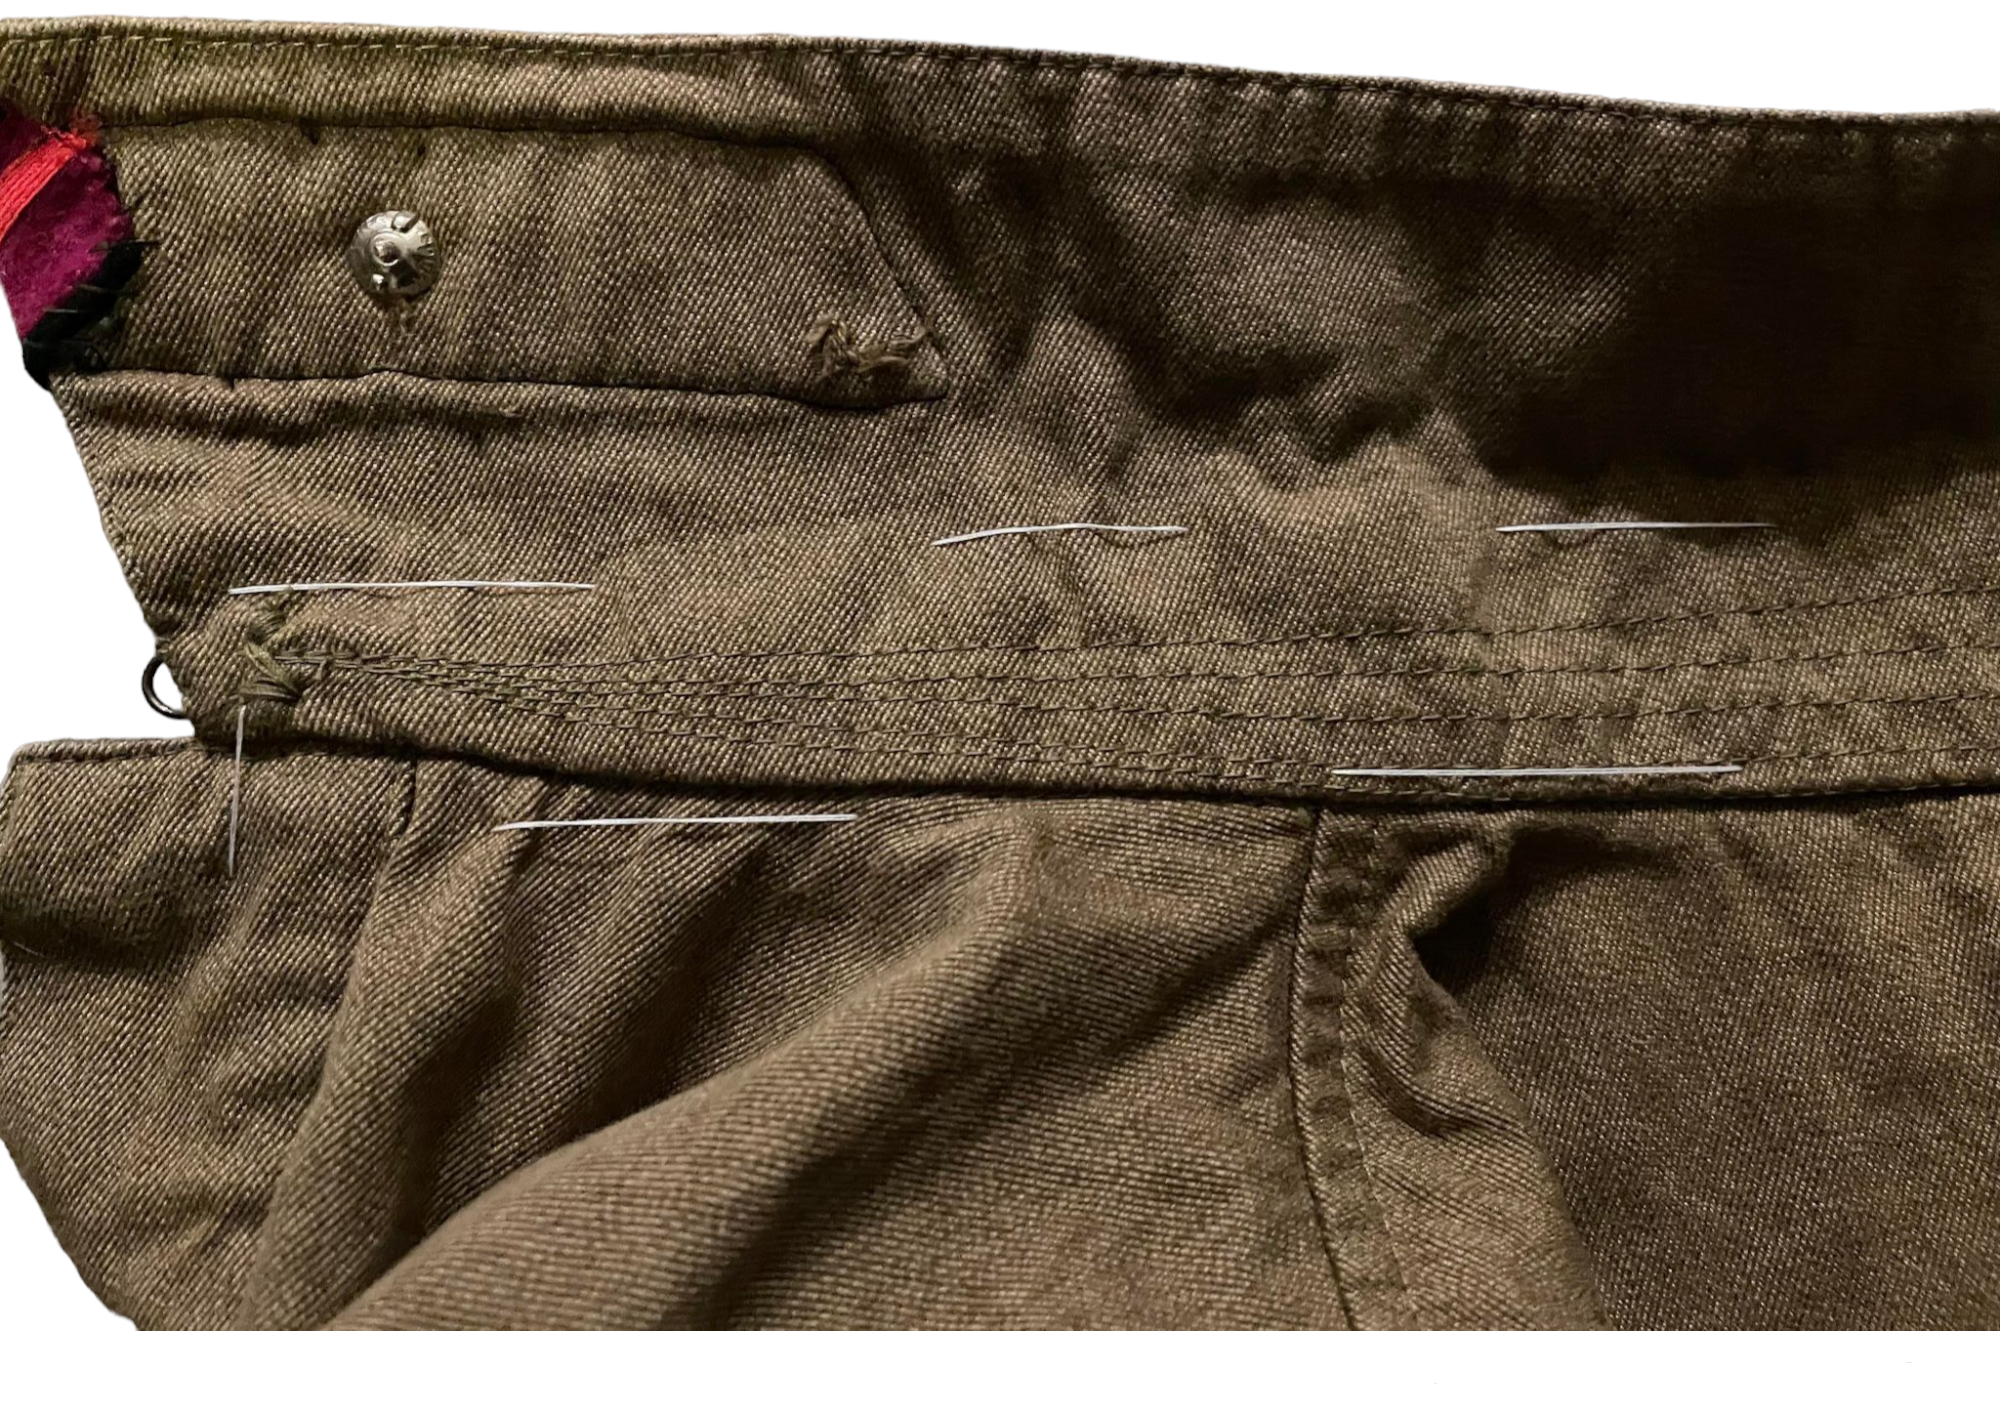
5. Continue sewing until you reach the opposite corner of the collar liner and continue to thread the edge of the liner. The bottom stitches can be much longer and looser than the stiches on the top half of the liner. Again, with the Obr. 35, you can let the stitching go through collar since folding the collar down will hide the stiches. When sewing a liner into an Obr. 43 you will have to keep the stitching within the collar and not go completely through the collar to prevent the stitching from being visible.
Top and Bottom Stitches
Stitches Through The Collar
Once you reach your starting spot tie off your thread, and you are finished, Remove the pins and enjoy your new collar liner!
Obr. 43 Tunic Example
To sew a liner into the Obr. 43 tunic, follow the same steps above for the Obr. 35 tunic.
First, measure the collar length, cut out the cotton liner to the length, and fold it 1-2 times so it is about 4 cm tall. Lay the liner fabric in the tunic and hold it in with pins. Start sewing the top stitches, working your way around the collar until you reach your starting place, and tie off the thread.
The main difference for the Obr. 43 is that you cannot sew all the way through the collar to hide the stitching. In my experience, this tunic is much easier to sew the liner into than the Obr. 35.