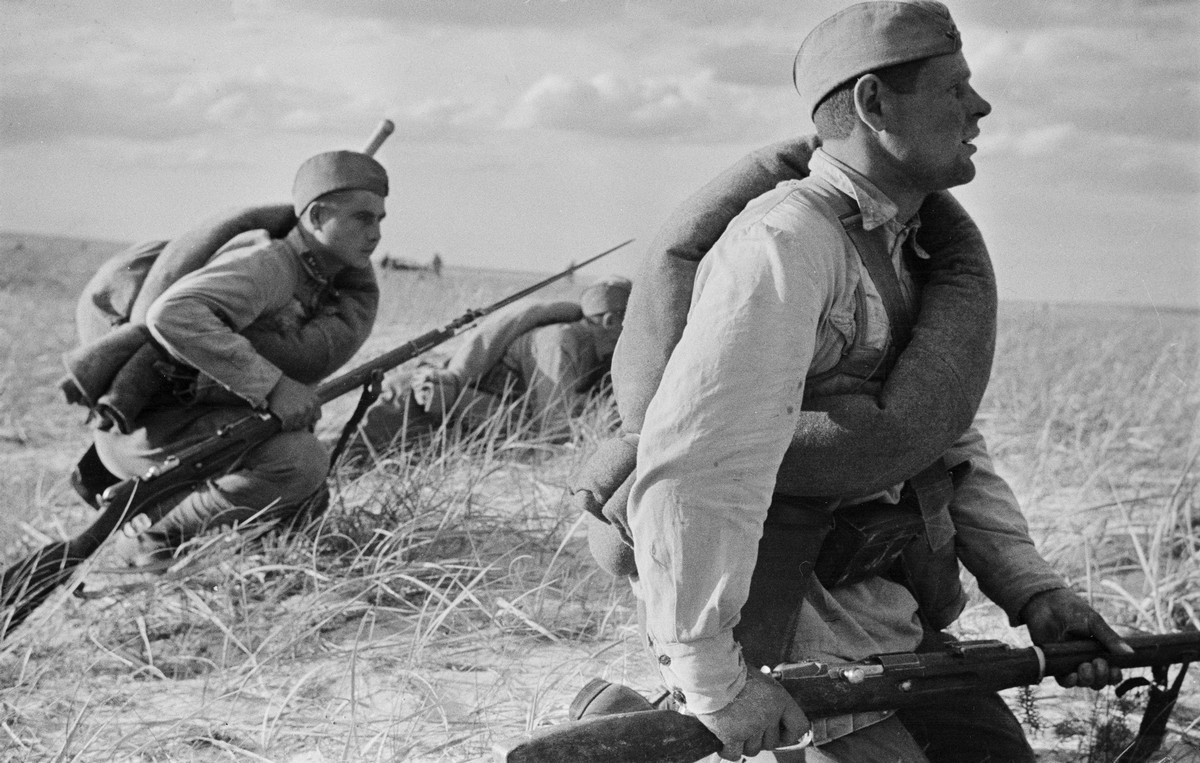
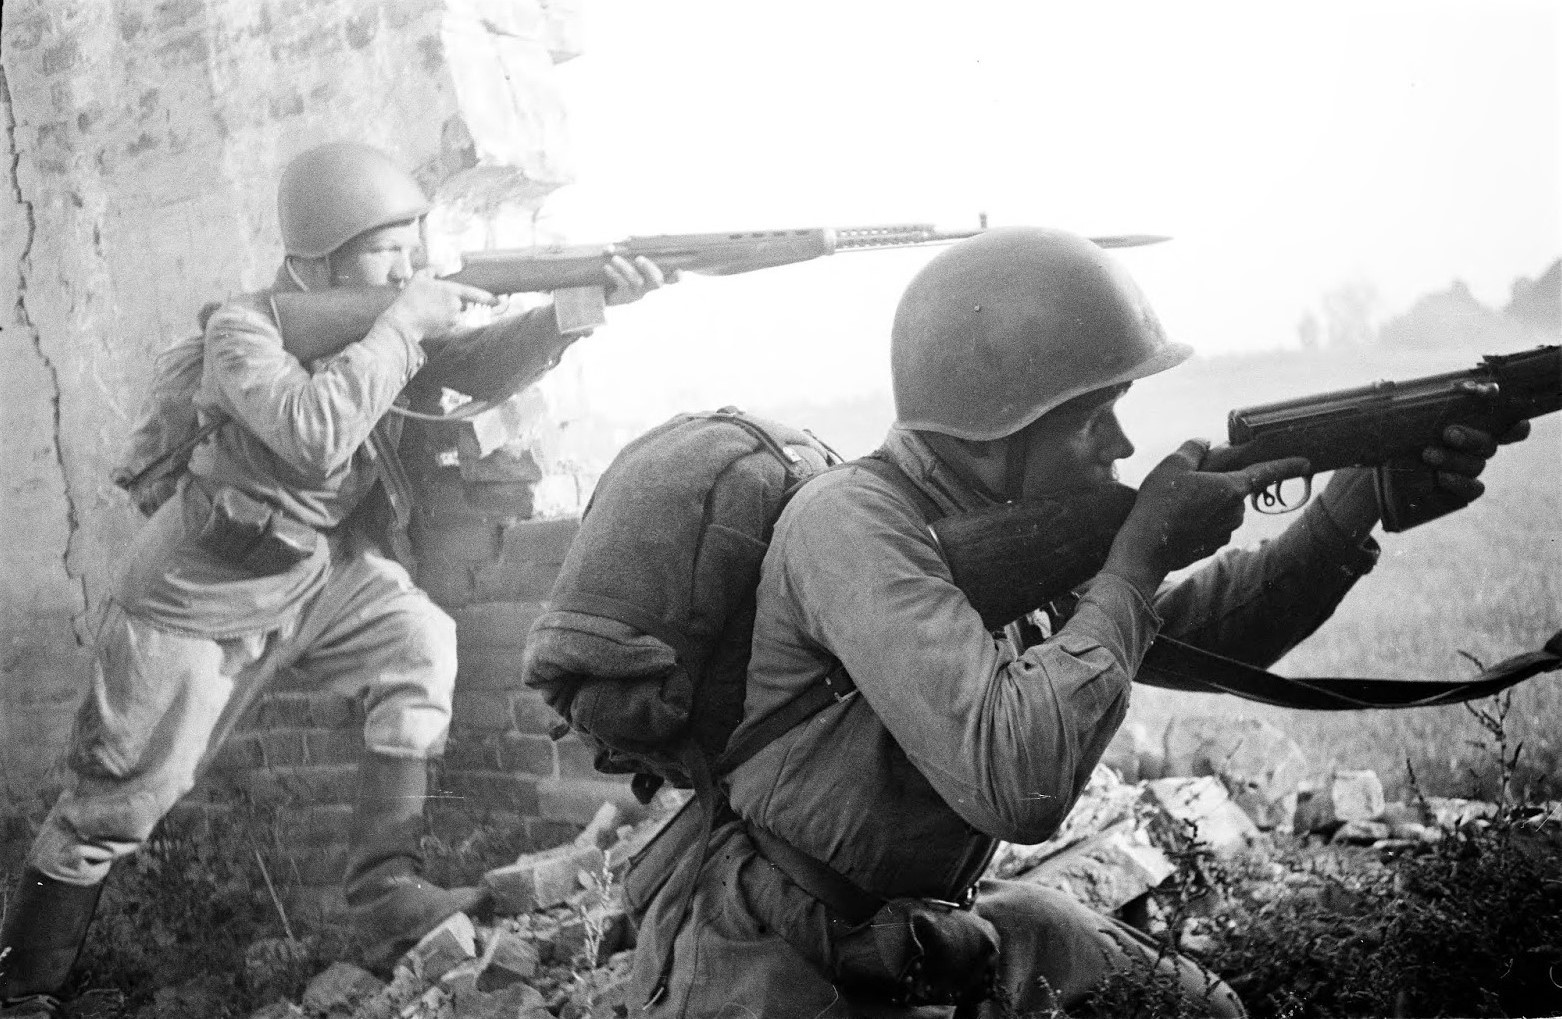
Uniform Weathering

By Donovan Grbic

“Why should you weather your items?” A common question asked by many reenactors, and in this article we will give our perspective on weathering/aging your uniforms and equipment for the Soviet soldier. Some things we cover can also be applied to other impressions. By no means is this something that is required or you must to do to attend an event as a Soviet. This guide is for those that want to put the extra amount of work they see fit adding to their impression;  going the extra mile if you will. We hope you learn a few new things and encourage you to eventually experiment with your own ideas/methods for working on your uniforms and gear. 

Weathering Your Uniform

Should you weather your uniform? Many will claim that uniforms and equipment were issued to the soldier new. While this is partially true, it is very much dependent on the scenario, such as items being reissued after previous use. If an item was issued new, it still would have been broken in very quickly from constant wear and would not look brand new shortly after. Portraying a frontline unit means that the garment would have seen fairly heavy use in its time, even for a very short period. Another point, the materials and quality of dyes were very different during the world wars; fewer synthetic materials were used, the quality of dyes was poor, and the soaps used to wash garments were much more abrasive. Natural cotton fades extremely quickly, and poor-quality dyes will wash out extremely easily, especially with acidic soaps stemming from animal fats. If you have ever dealt with some old stock material, like the Soviet blue linen or some of Dorian’s canvases he uses, you may know that once wet, you can quite literally squeeze the dye out of it. Try it. It’s fun.

Should you weather your uniform? Many will claim that uniforms and equipment were issued to the soldier new. While this is partially true, it is very much dependent on the scenario, such as items being reissued after previous use. If an item was issued new, it still would have been broken in very quickly from constant wear and would not look brand new shortly after. Portraying a frontline unit means that the garment would have seen fairly heavy use in its time, even for a very short period.

Another point, the materials and quality of dyes were very different during the world wars; fewer synthetic materials were used, the quality of dyes was poor, and the soaps used to wash garments were much more abrasive. Natural cotton fades extremely quickly, and poor-quality dyes will wash out extremely easily, especially with acidic soaps stemming from animal fats. If you have ever dealt with some old stock material, like the Soviet blue linen or some of Dorian’s canvases he uses, you may know that once wet, you can quite literally squeeze the dye out of it. Try it. It’s fun.

Fading

Now, we move on to some methods and their effects. Starting off, we’ll visit a very common method for cotton and even some wools, sun fading. I will say, although I myself sport very faded uniforms, I do not believe everyone in a group should have one. I believe that there should be varying levels of fade throughout the ranks, but there should still be some fade to everyone. This is a very simple method that produces excellent results. Depending on your tastes, fading can occur for a week or two to a few months. It is not a technique for the impatient, but its results are worth the wait. When fading, make sure your item lays flat, and that there are no large creases — otherwise, those will leave unpleasant fade marks. I recommend securing the item to something stationary and flat. I use the roof of a play shed and the roof of my house with a few small staples on the corners to keep it from blowing away and get the best results. In addition, soaking the garment in water will help speed up the process by amplifying the effect, even more so with saltwater. With my method, I let one side of the garment fade to the desired amount, then flip to let the other side match, then fine-tune as needed. At a certain level of fade and with certain materials, the use of chemical methods can aid in producing an even more effective result, but I will touch on that later.

You see a very wide variety of material, natural dyes, and resulting colors of Soviet uniforms worn by Red Army soldiers. There is no one perfect color, shade, or fade, it is up to you for the final look you want for your tunic, trousers, pilotka, etc… As long as your uniform isn’t complete dark brown, unwashed, or fresh out of the box from Voin or Schusters, you are fine in this department. The photos below throughout this guide should help give you an idea of the wide variance you’ll see in the Red Army from Barbarossa all the way to the Battle of Berlin. 

Now, we move on to some methods and their effects. Starting off, we’ll visit a very common method for cotton and even some wools, sun fading. I will say, although I myself sport very faded uniforms, I do not believe everyone in a group should have one. I believe that there should be varying levels of fade throughout the ranks, but there should still be some fade to everyone. This is a very simple method that produces excellent results. Depending on your tastes, fading can occur for a week or two to a few months. It is not a technique for the impatient, but its results are worth the wait.

When fading, make sure your item lays flat, and that there are no large creases — otherwise, those will leave unpleasant fade marks. I recommend securing the item to something stationary and flat. I use the roof of a play shed and the roof of my house with a few small staples on the corners to keep it from blowing away and get the best results. In addition, soaking the garment in water will help speed up the process by amplifying the effect, even more so with saltwater. With my method, I let one side of the garment fade to the desired amount, then flip to let the other side match, then fine-tune as needed. At a certain level of fade and with certain materials, the use of chemical methods can aid in producing an even more effective result, but I will touch on that later.

You see a very wide variety of material, natural dyes, and resulting colors of Soviet uniforms worn by Red Army soldiers. There is no one perfect color, shade, or fade, it is up to you for the final look you want for your tunic, trousers, pilotka, etc… As long as your uniform isn’t complete dark brown, unwashed, or fresh out of the box from Voin or Schusters, you are fine in this department. The photos below throughout this guide should help give you an idea of the wide variance you’ll see in the Red Army from Barbarossa all the way to the Battle of Berlin. 

Example of varying levels of uniform fade

Heatgunning

Our next method is heatgunning, a process that really only has a great effect on wool items. A heat gun, if you do not know of its wonders, is practically a supercharged hair dryer that can be used to burn the fuzz or nape off of wool items to make them look worn and used. Many wool stuffs, when received, look like they are still attached to the sheep that they came off of, being extremely fuzzy. While that may be comfy, it sticks out like a sore thumb, along with other brand-new gear. Looking at many original coats, they are often threadbare and well-worn. While that may be due to time, the friction from movement against it will also cause the wool to become unfuzzy. Often, when coats come in new from the manufacturer, the wool might be matted. I run the coat through a rinse cycle in the washing machine and a fluff cycle in the dryer to help release the fuzz. This allows for a more effective heatgunning. When heatgunning, make sure you constantly keep moving and do not keep the heat on one spot for very long, otherwise, you risk burning the coat and leaving a very unsightly mark, and possibly even ruining it. After carefully going over the coat, make sure you brush off the burnt remains of what was once fuzz using a push broom, wire brush, or whatever possible. Afterward, I wash the coat in cold water to clean off any burnt bits and dry it on light to beat the stiffness out of the coat. The dryer will collect more fuzz in the lint trap, so be sure to clean it out frequently. Be sure that your coat does not shrink too much, and alter the temperatures of washing and drying as you see fit.

Our next method is heatgunning, a process that really only has a great effect on wool items. A heat gun, if you do not know of its wonders, is practically a supercharged hair dryer that can be used to burn the fuzz or nape off of wool items to make them look worn and used. Many wool stuffs, when received, look like they are still attached to the sheep that they came off of, being extremely fuzzy. While that may be comfy, it sticks out like a sore thumb, along with other brand-new gear. Looking at many original coats, they are often threadbare and well-worn. While that may be due to time, the friction from movement against it will also cause the wool to become unfuzzy. Often, when coats come in new from the manufacturer, the wool might be matted. I run the coat through a rinse cycle in the washing machine and a fluff cycle in the dryer to help release the fuzz. This allows for a more effective heatgunning.

When heatgunning, make sure you constantly keep moving and do not keep the heat on one spot for very long, otherwise, you risk burning the coat and leaving a very unsightly mark, and possibly even ruining it. After carefully going over the coat, make sure you brush off the burnt remains of what was once fuzz using a push broom, wire brush, or whatever possible. Afterward, I wash the coat in cold water to clean off any burnt bits and dry it on light to beat the stiffness out of the coat. The dryer will collect more fuzz in the lint trap, so be sure to clean it out frequently. Be sure that your coat does not shrink too much, and alter the temperatures of washing and drying as you see fit.

Washing

A basic method that you can do with your normal laundry — washing your new uniforms can help break them in and fit better to the body. I personally order my uniforms one size bigger to allow for some movement and to safely wash them to shrink to a comfortable size and remove any synthetic-looking shine that may be left on the uniform. As I stated earlier in my introduction, some older fabrics are not very colorfast with their dyes, and they will bleed once washed, making a more used and faded look without having to let it sit outside. 

Washing your uniforms in salt is also a good way to help soak out the dye. Typically leaving it for no more than 24 hours is recommended to prevent corrosive damage to the metallic buttons. Hand washing in a hot bath with stain removing soap such as Fels Naptha is another good way to help soak out the dye of your uniform. If possible let your uniforms air dry outside in the sun, as Soviet soldiers would be getting wet on the front being exposed to the elements or crossing rivers and drying over time outside. 

Chemical Weathering

This section is one that scares me the most and is by far the most dangerous. Chemical methods, like bleach and RIT color remover can have serious adverse reactions to synthetic materials, which much of the current uniforms and gear are made out of, but it can also be very effective if you know what you are doing. Natural cottons like those used by Dorian and even some Schuster canvas gear can be faded chemically with bleach to a perfect light tan color. Soviet material, such as single and double twill melange seen in tunics and pants, does not take well to chemical weathering, generally turning yellow, orange, or even purple. If a garment is already sun faded to a very light color, the process of chemical weathering can be used carefully to help give a little bit more of a light color, but you still risk turning the unfaded material on the inside a horrible color. This method is tricky and takes experience to get right, and must be used on the correct material and in the correct conditions. If you ever wish to try chemical aging, just know it’s very risky, and the process can differ from garment to garment. I truly don’t recommend using this as the first method for most items.

This section is one that scares me the most and is by far the most dangerous. Chemical methods, like bleach and RIT color remover can have serious adverse reactions to synthetic materials, which much of the current uniforms and gear are made out of, but it can also be very effective if you know what you are doing. Natural cottons like those used by Dorian and even some Schuster canvas gear can be faded chemically with bleach to a perfect light tan color. Soviet material, such as single and double twill melange seen in tunics and pants, does not take well to chemical weathering, generally turning yellow, orange, or even purple.

If a garment is already sun faded to a very light color, the process of chemical weathering can be used carefully to help give a little bit more of a light color, but you still risk turning the unfaded material on the inside a horrible color. This method is tricky and takes experience to get right, and must be used on the correct material and in the correct conditions. If you ever wish to try chemical aging, just know it’s very risky, and the process can differ from garment to garment. I truly don’t recommend using this as the first method for most items.

Greasing/Oiling

This method for treating leather is both a fun activity and a gratifying one. Using oils and greases to make leather supple will also help darken the leather and make it look more used, along with making it more pliable. Well-treated leather is strong and will last longer than you probably, keeping your boots, pouches, etc., full of life and able to hold up to the abuse of the field. Products like neatsfoot oil, Pecards, Huberds, and even Ballistol are excellent treatment options, and saddle soap is effective at cleaning leather after events, but be sure to use product on it afterward to revitalize the leather.

The greasing/oil method can also be use to one’s uniform as well if they so desire. Red Army men in the field would be exposed to oil working with and maintaining their weapons. They would also need to maintain the heavier equipment of their unit, this could be heavy machine guns, mortars, trucks, jeeps, artillery pieces, anti-aircraft batteries, anti-tank guns, tanks, and self-propelled guns with different kinds of oil, grease, and other chemicals. To achieve this look one can simply use their tunic as an oil rag, or stain it directly with their oil of choice. Another method is to rub vasoline into the fabric, then run it through the dryer for a few minutes, this will leave a permanent faded oil esc stain behind. 

Tarnishing

A quick and effective formula that I learned will tarnish and oxidize metals like tin, steel, brass, and others in just seconds. The mixture calls for one part white vinegar, one part Hydrogen Peroxide, and pour in salt to taste (Please don’t actually drink it). You will see an effect quickly and even more noticeable if the metal has been scored beforehand by means of a wire brush. I use this method for buttons and cockades, even belt buckles. For cookware, like aluminum mess pots, their shine can be reduced by a quick wash in the dishwasher. The heat applied helps tarnish the aluminum shine and helps create the look that it is out in the elements.

Mud and Staining

Even after all the methods, there are still small touches that can take a weathered uniform from okay to excellent. A faded uniform will just look lighter after it’s done, not necessarily more used, but soaking it in mud will add that level of dinginess and dirtiness that will make it look exquisite. A simple mud bath or two can finish off the necessary look. I use a bucket and shovel a good amount of dirt in, then fill it with water to create a thick mixture, dunk in the article, and let it soak. After removing it from the mixture, I let it sit for about an hour out of the bucket to absorb, then rinse it in the washing machine, making sure to shake off any rocks or clumps that may follow it in. Take note that if you wash it, then the effect will be washed away with it. Make sure to use a rinse cycle or rinse it by hand outside. You may have to clean your washing machine afterward. Coffee and tea staining work similarly; you brew coffee or tea and soak an article to stain it a darker color. Let it soak until the desired effect is received, and repeat as necessary.
Even after all the methods, there are still small touches that can take a weathered uniform from okay to excellent. A faded uniform will just look lighter after it’s done, not necessarily more used, but soaking it in mud will add that level of dinginess and dirtiness that will make it look exquisite. A simple mud bath or two can finish off the necessary look. I use a bucket and shovel a good amount of dirt in, then fill it with water to create a thick mixture, dunk in the article, and let it soak. After removing it from the mixture, I let it sit for about an hour out of the bucket to absorb, then rinse it in the washing machine, making sure to shake off any rocks or clumps that may follow it in.
 
Take note that if you wash it, then the effect will be washed away with it. Make sure to use a rinse cycle or rinse it by hand outside. You may have to clean your washing machine afterward. Coffee and tea staining work similarly; you brew coffee or tea and soak an article to stain it a darker color. Let it soak until the desired effect is received, and repeat as necessary.
Scroll to Top